Wings - Ribs and Covering
Following the completion of the main wing structure, including wing tips, it was time to cover the wings. We received custom sewn wing covers made from dacron sail cloth. As far as we know our aircraft is only the second EMG-6 to be covered with these sails (if there are any other builders out there, please let us know how your getting on). The installation process in theory is simple; remove the struts, slide the wing covers over the wing structure, pull tight inward from the center, and insert the ribs. In practice the process was a bit more involved than expected.
Disclaimer: All of the photos included in this blog posting reflect work that was completed prior to the covid-19 pandemic.

The first step involves sliding the sails over the wing structure. The ribs will be inserted later.

Having 3 people work on the task made it manageable.

Inspecting the fit at the wing tip. There are a few zippered access slots in the wing covers.

This is the drawing for the rib bending template.

We used our CNC router to cut out the rib bending template from 3/4" plywood.

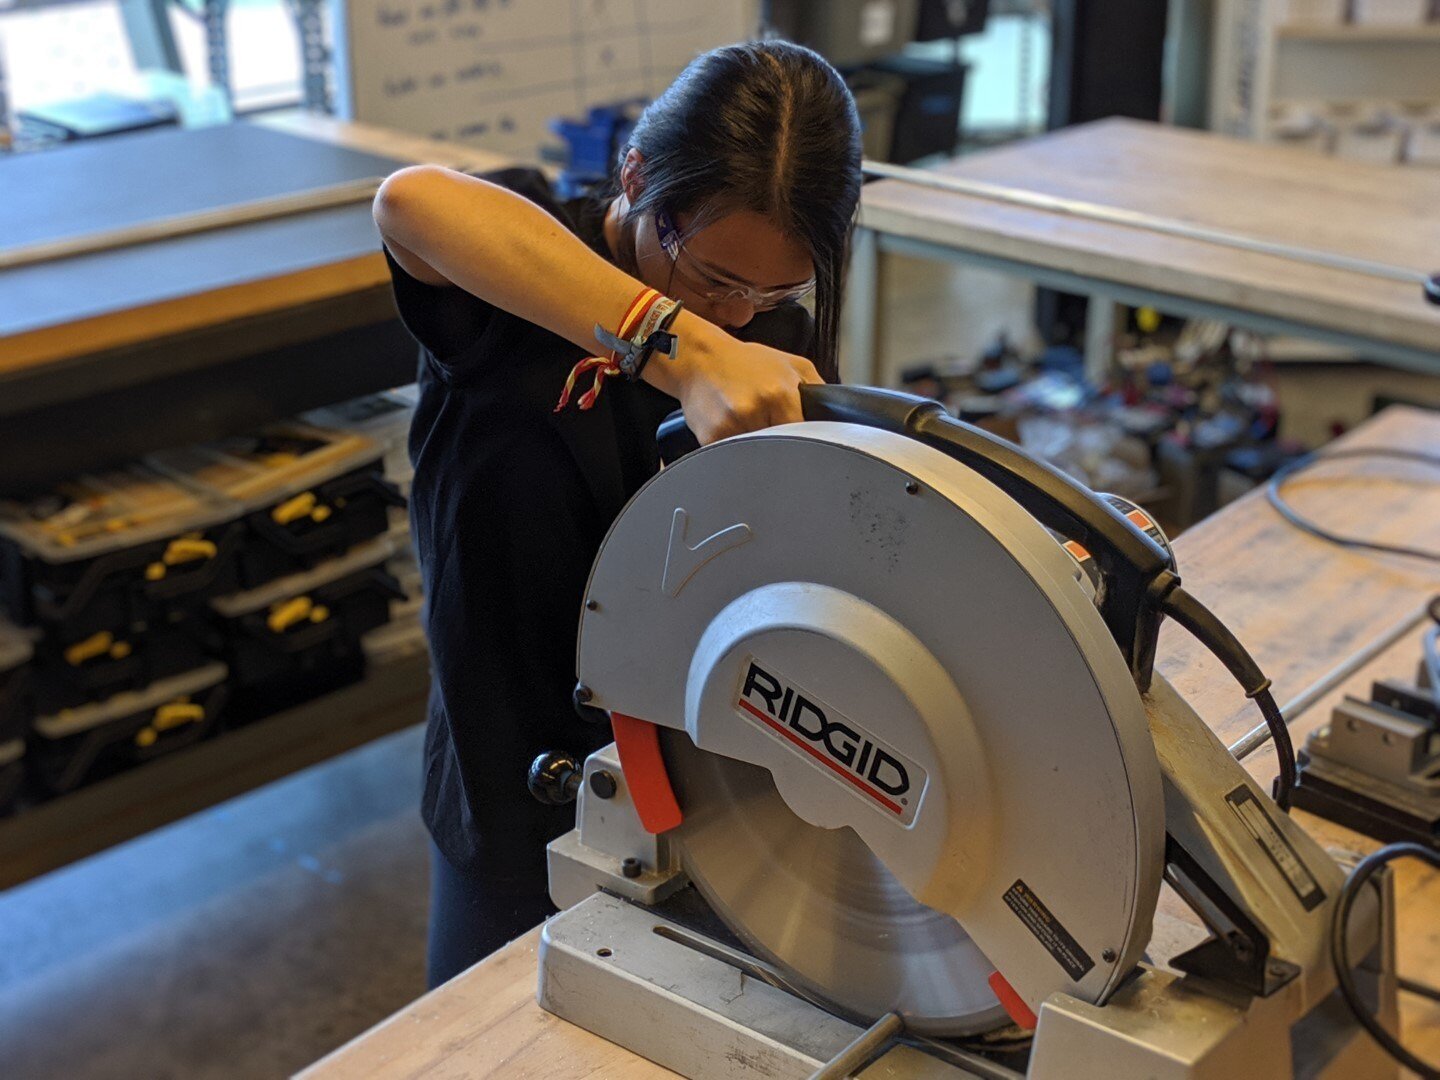
We used the chop saw to cut the rib sections from 1/2" aluminum tubing.

Using a couple of toggle clamps and a cutom 3D printed tube holder, we were able to secure the tubing into the jig prior to bending.

Using a couple of toggle clamps and a cutom 3D printed tube holder, we were able to secure the tubing into the jig prior to bending.

Teamwork employed to achieve a precise bend.

More bending.


Using full-scale plots of the rib profile, we were able to check for part accuracy and consistency.

This is Jonah playing with fire. Initially we thought that we had to heat the end of the rib to insert the plastic "duckbill" tips. Later we discovered that the heating was not necessary to insert the plastic parts.

Inserting the front rib tip or "duckbill" (Q20250).

Straps on the inboard end of the sail allows us to pull it tight towards the fuselage frame. The yellow straps are temporary and will be replaced with the straps from the left wing sail.

We are using a soldering iron to cut through the material that is coving the access zipper.

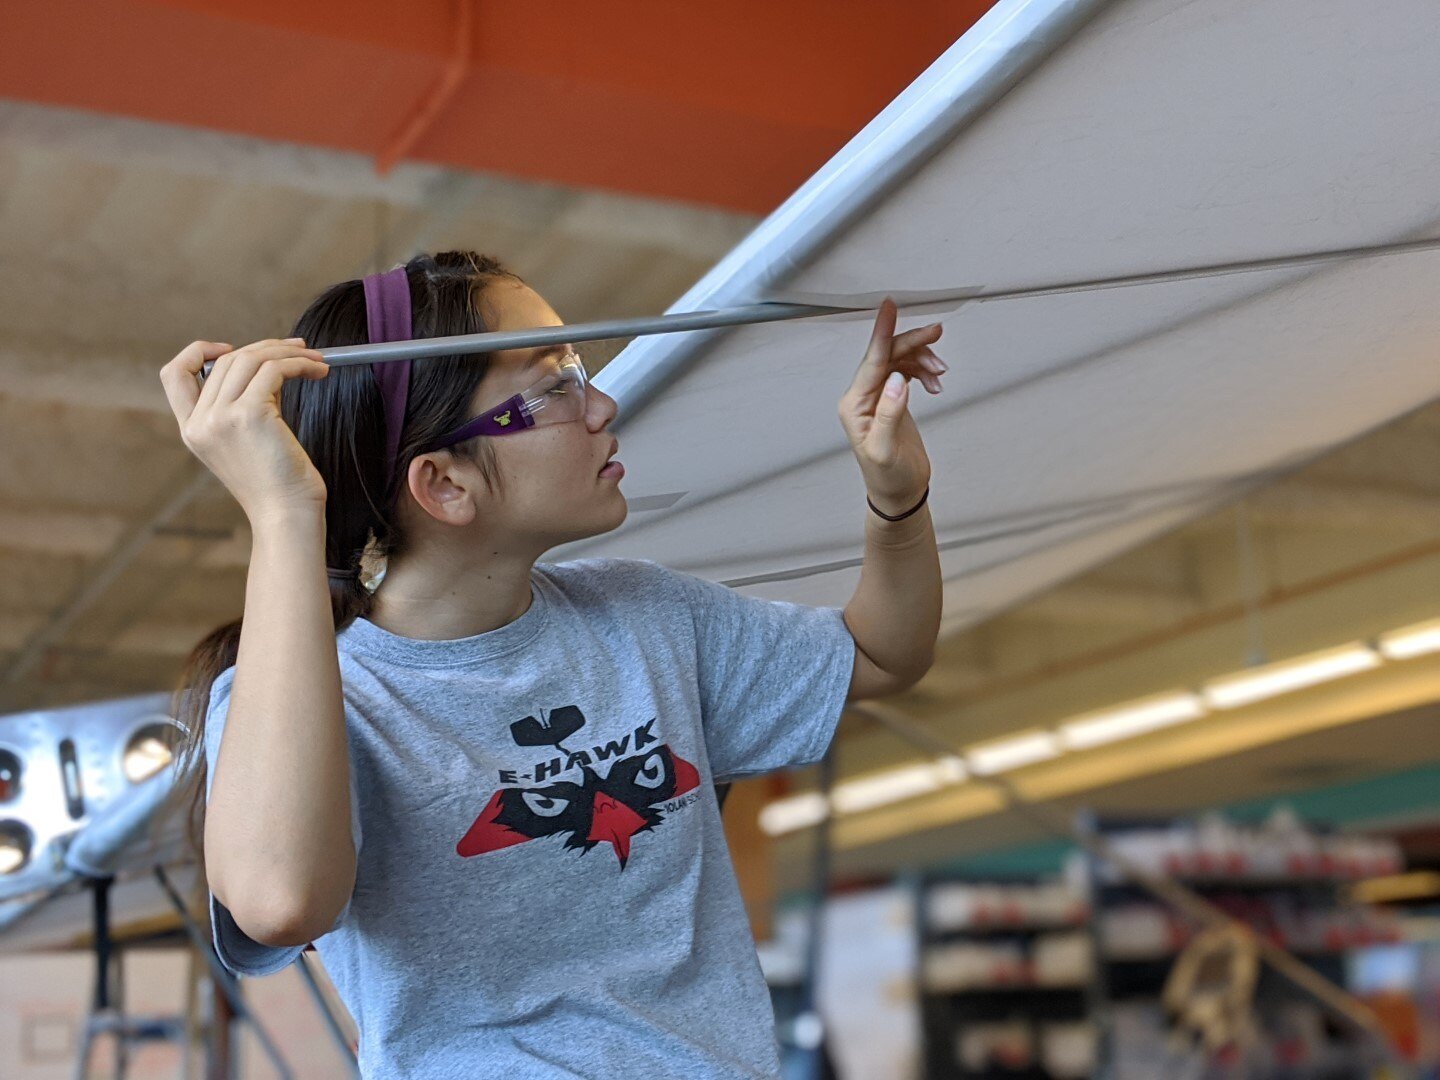
Taking some measurments to acquire the correct rib length. The wing is tapered so the ribs get shorter from inboard to wing tip.

The ribs are inserted into sleeves that are sewn into the interior of the wing sails. Threading the ribs through the sleeves takes concentration.

Once the rib is fully inserted, a 3D printed trailing edge rib end is installed.

Using the soldering iron to melt holes around the fasteners.

Underside of the completed right wing covering.

The almost finished product looks something like this. We still have to install the lower ribs and increase the inward tension slightly. The shape is still a bit off at the tips and will need some attention.

Removing the temporary yellow straps now that the right wing sail has been installed with ribs. The two wing sails then get fastened together at the center and tension is applied.

Both wings complete.
