Wings
We ended the 2019 school year by fabricating and installing the wings. The tubes for the jury strut assembly still need to be cut and installed as do the wing tips. Then it’s on to bending the wing ribs. Once that takes place we will cover the wings with Dacron sailcloth. The many pictures that follow illustrate the wing build process.


Cutting the tubing that will make up the drag struts.

Double checking the length of one of the compression struts.

The crew works on tightening all of the fasteners that will attach the compression and drag struts to the leading and trailing wing spars.

The lift strut attach fitting has been cut, heated and bent, and placed in position for welding to the fuselage frame.

Lift strut attach fitting welded to fuselage frame.

Lift strut fittings fabricated and painted. These will be inserted into the lower ends of the forward lift struts to make the connection to the fuselage frame.

Lift strut attach fitting bolted to fuselage frame.

The aircraft was raised off of the floor to make it easier to weld the lift strut attach fittings into place.

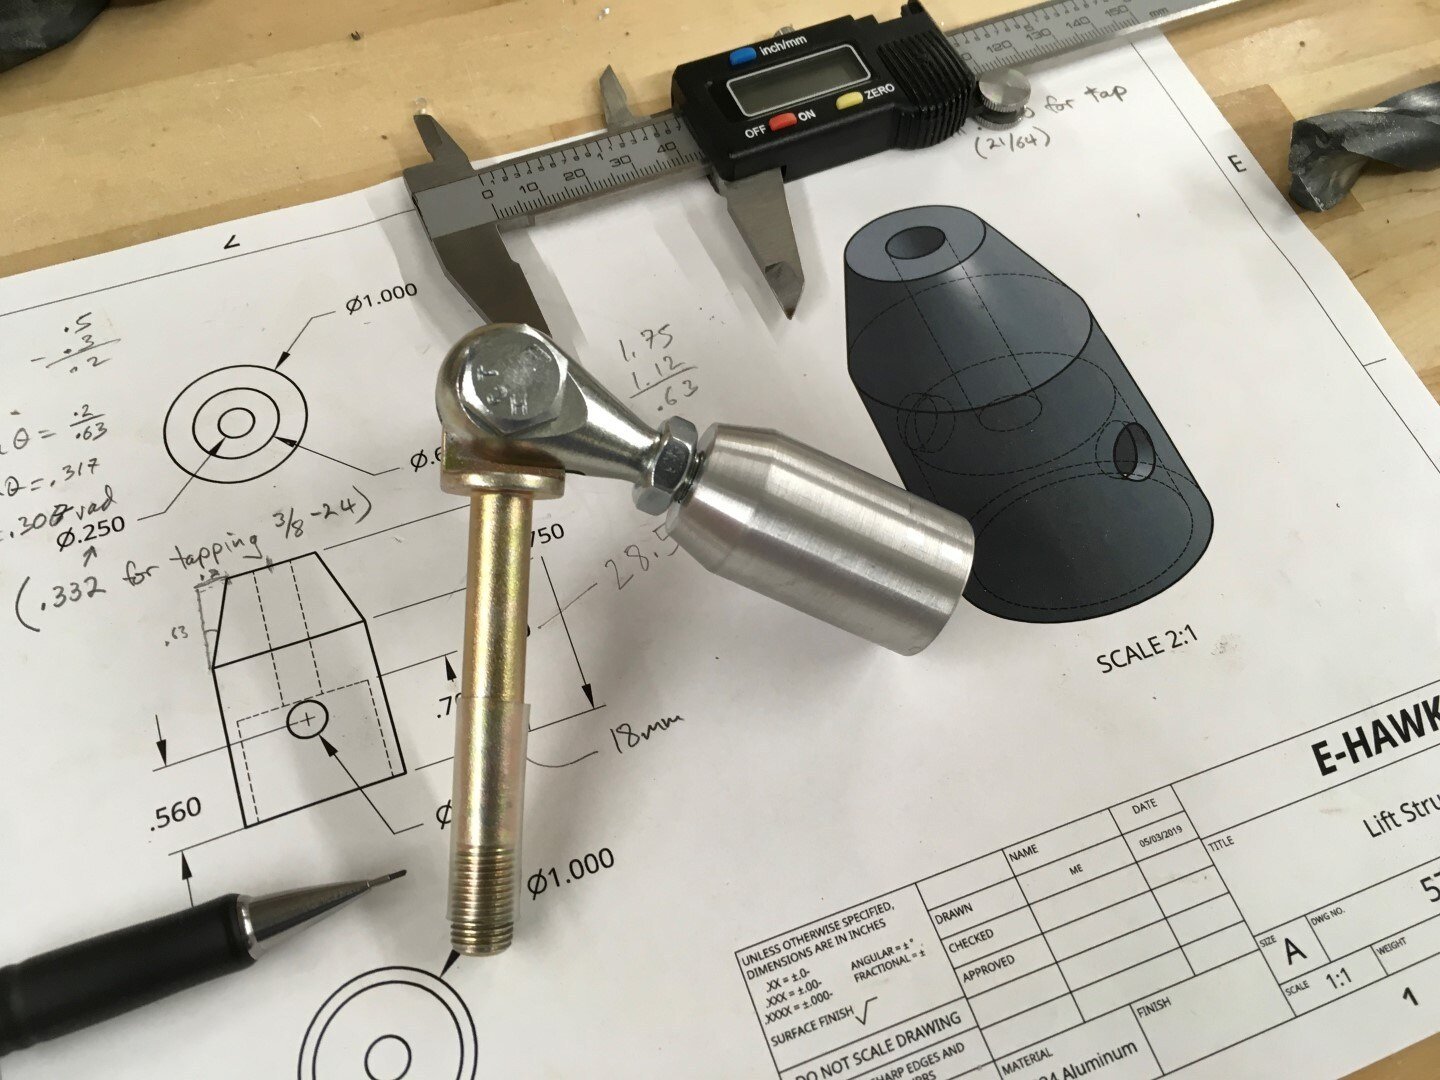
The lift strut ends have to be machined from round stock aluminum. They will be used to attach the outboard ends of both the forward and aft lift struts to the wing leading and trailing spars respectively.

Round stock inserted into lathe for manual milling.

Finished lift strut ends tapped to 3/8"-24 and drilled for AN4 through bolt.

Lift strut ends are tested for proper fit with fork rod ends and eye bolts prior to installation.

The ends of the lift struts are drilled to accept the through bolts that will hold the ends in place.

The hardware that secures the ends of the lift struts to the aircraft is installed. The large clamp temporarily supports the load of the wing during the install process.

The wing strut joiners were cut on the waterjet. They function to tie the lift struts together at the base of the fuselage frame.

Bottom view illustrating the strut joiner.

The remaining AN fasteners are installed and tightened.

Same thing for the right wing.

One side completed.

The bolt that secures the lift strut end to the trailing edge eye bolt is installed.

The wing fold fitting mates the inboard leading edge to the fuselage frame. We will most likely not use the wing fold feature as we will have to completely remove the wings in order to move the aircraft out of the building.

The aileron push-pull tube is shown here connected to the aileron control horn. Next step will be to adjust the linkages to achieve the correct aileron deflection. The rear spar also needs to be drilled to accept a bolt that will secure it to the tail boom.

Time to dial-in the dihedral for the wings. First we ensure that the center of the fuselage frame is level.

Using an inclinometer app on a smart phone we are able to measure the dihedral angle. Right wing indicates 3 degrees.

Same on left wing. Perfect!

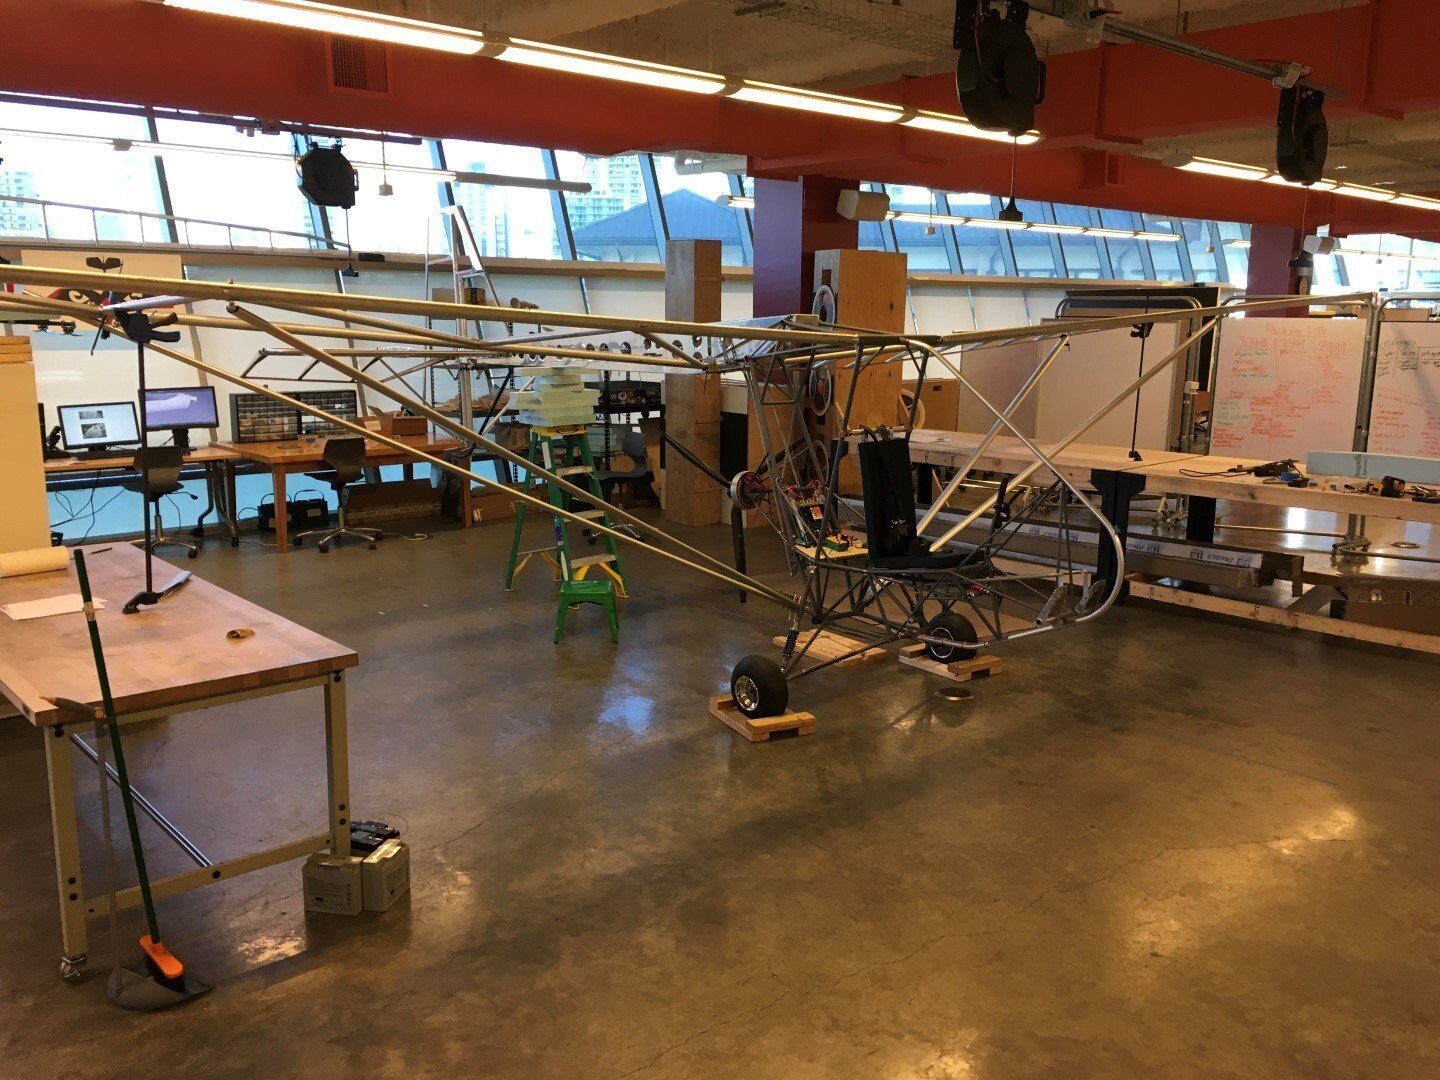
E-Hawk stretching its wings.


