Jury Struts
Our first post of the new school year has the team installing the wing jury struts. The jury strut assembly is comprised of 4 sections of streamline aluminum extrusions that provide support between the main wing struts and the wing at the inboard compression strut. The assembly is riveted together via strut connectors and attached to the wing and main struts via eye bolts. The many pictures below document the process.


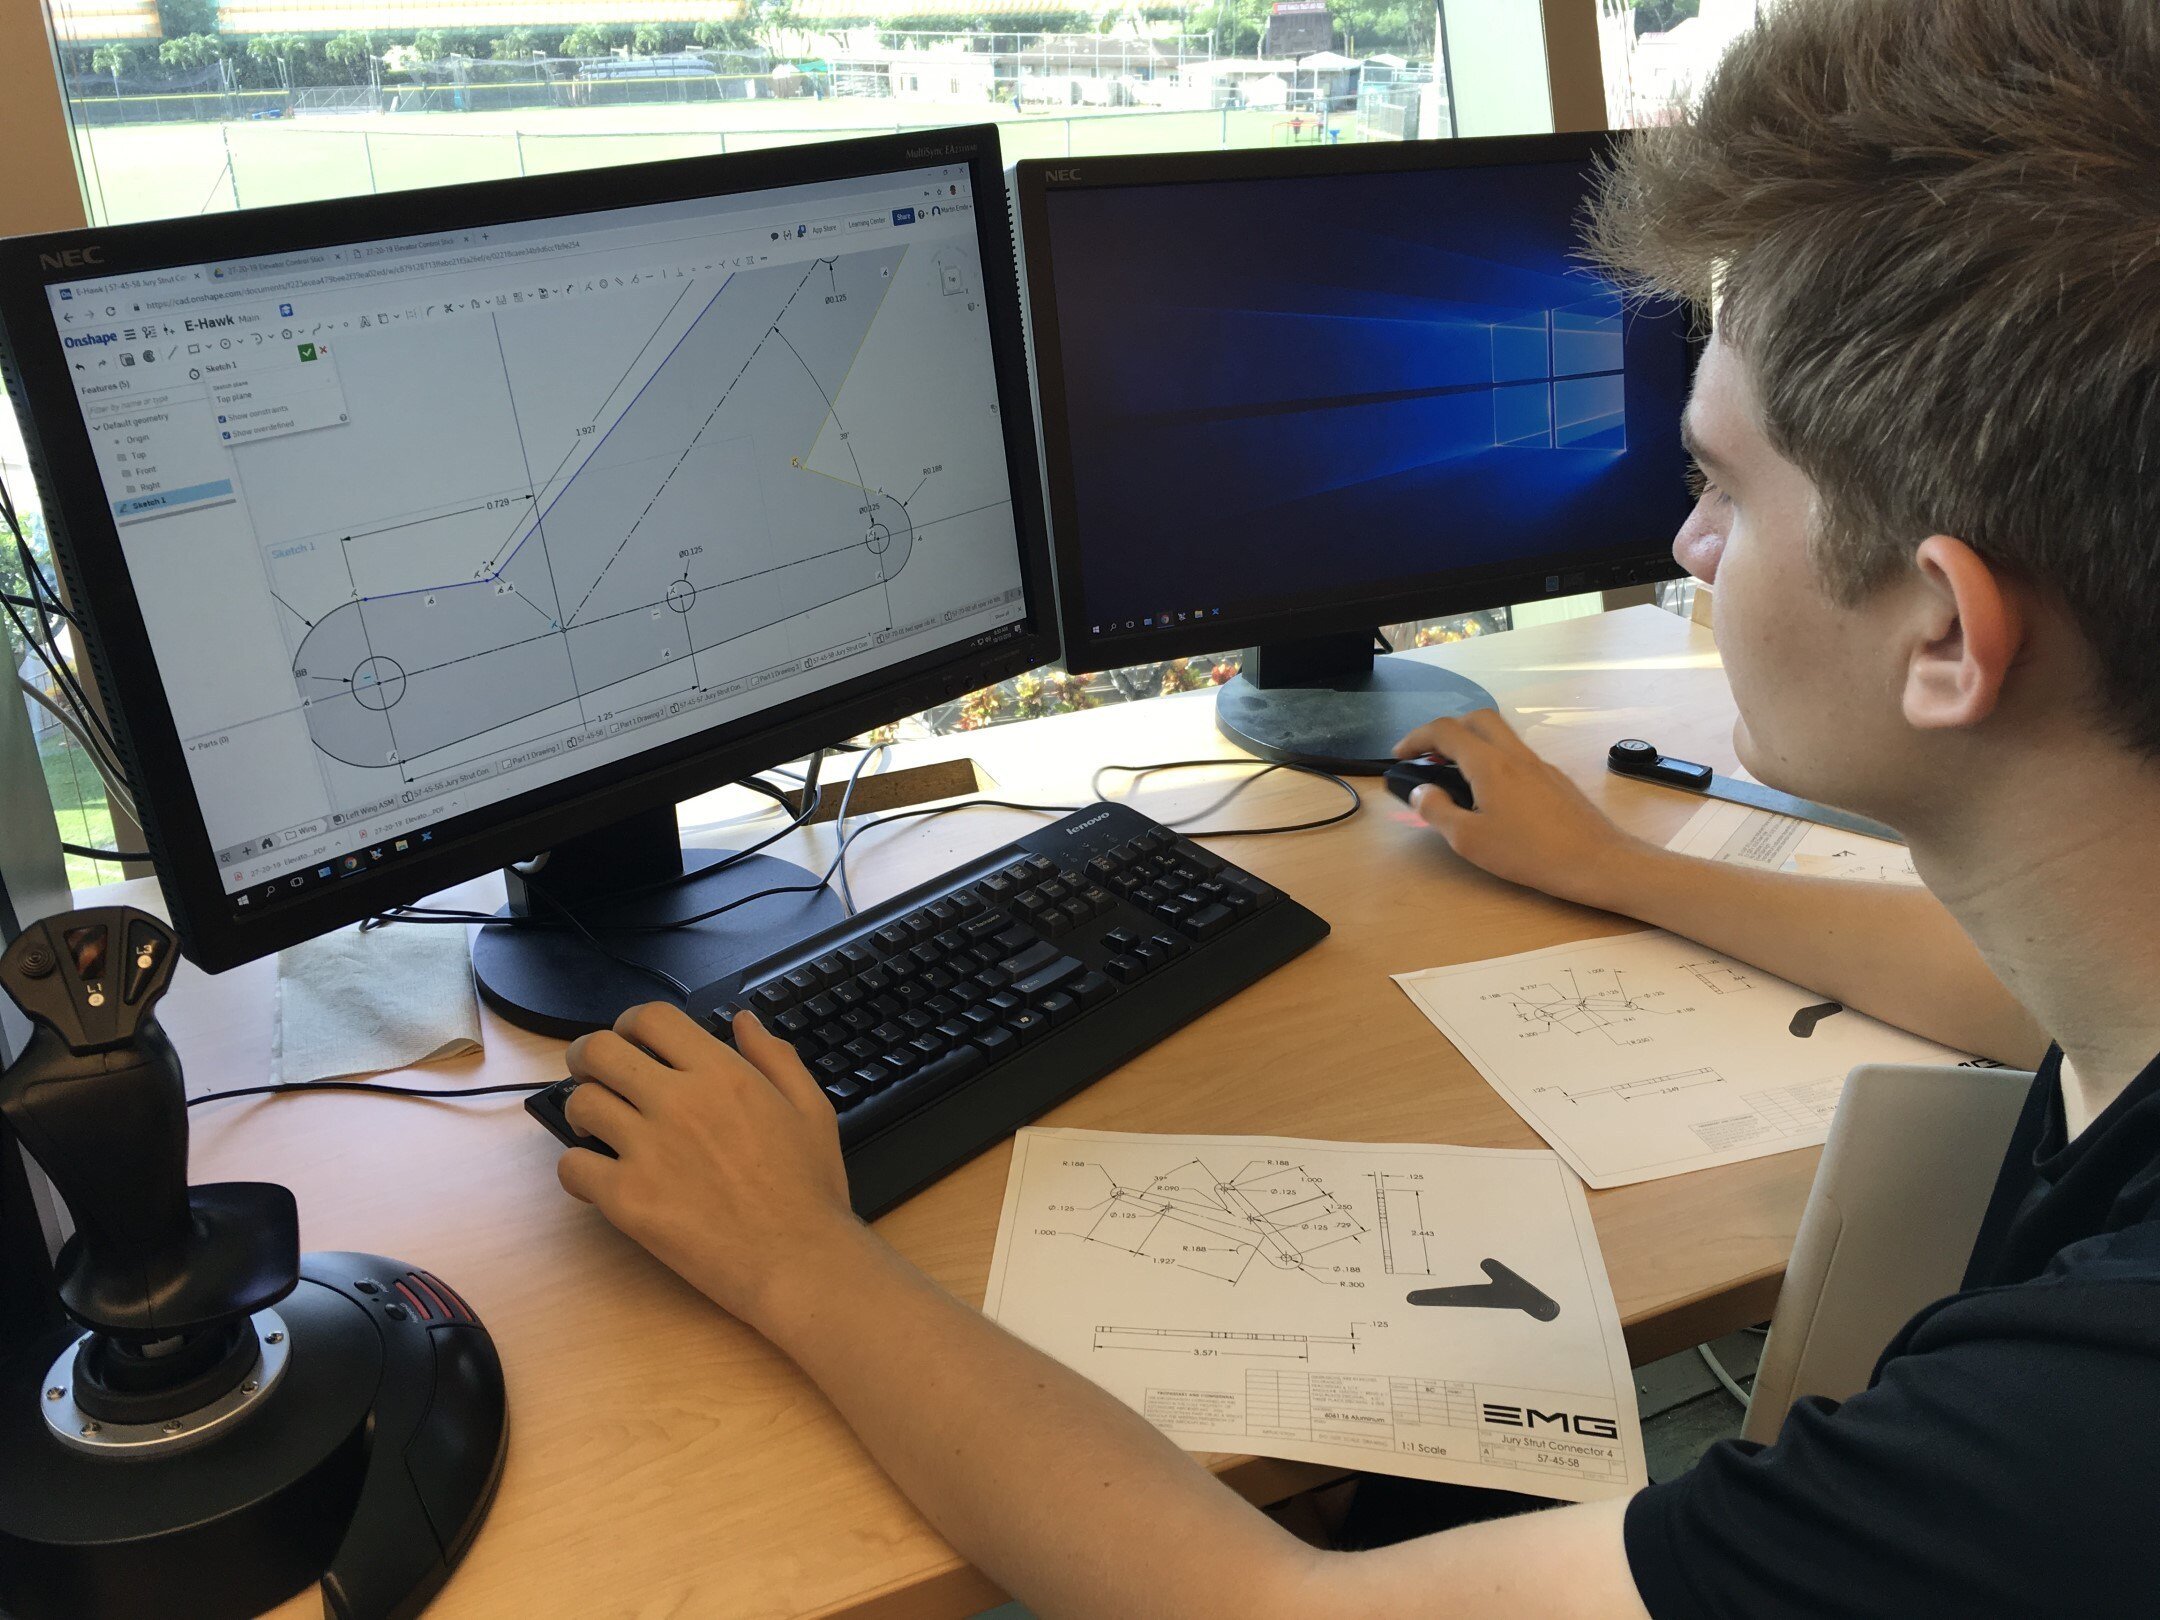
The first step of the process involves recreating the parts in our CAD system. We basically redraw the part based on the dimensions provided by the pdf file found in the EMG-6 database. From there we can export the dxf files to our water jet cutter.

Our internal drawing of one of the 6 unique jury strut connectors.

Freshly cut jury strut connectors. The smaller parts require tabs so that they don't fall into the abyss that is the water jet tank.

Jury strut connectors cleaned, deburred, and ready for installation.

We decided to print a full scale drawing of the jury strut assembly. We use it as a template to derive the length and angles for the 4 segments of streamline aluminum extrusions.

The 4000 rmp chop saw effortlessly glides through the aluminum extrusion.

For the more drastic angles we turn to the band saw.

Some light sanding will remove any sharp edges prior to assembly.

Strut segments are all cut and the connectors are aligned with the scale drawing prior to drilling.

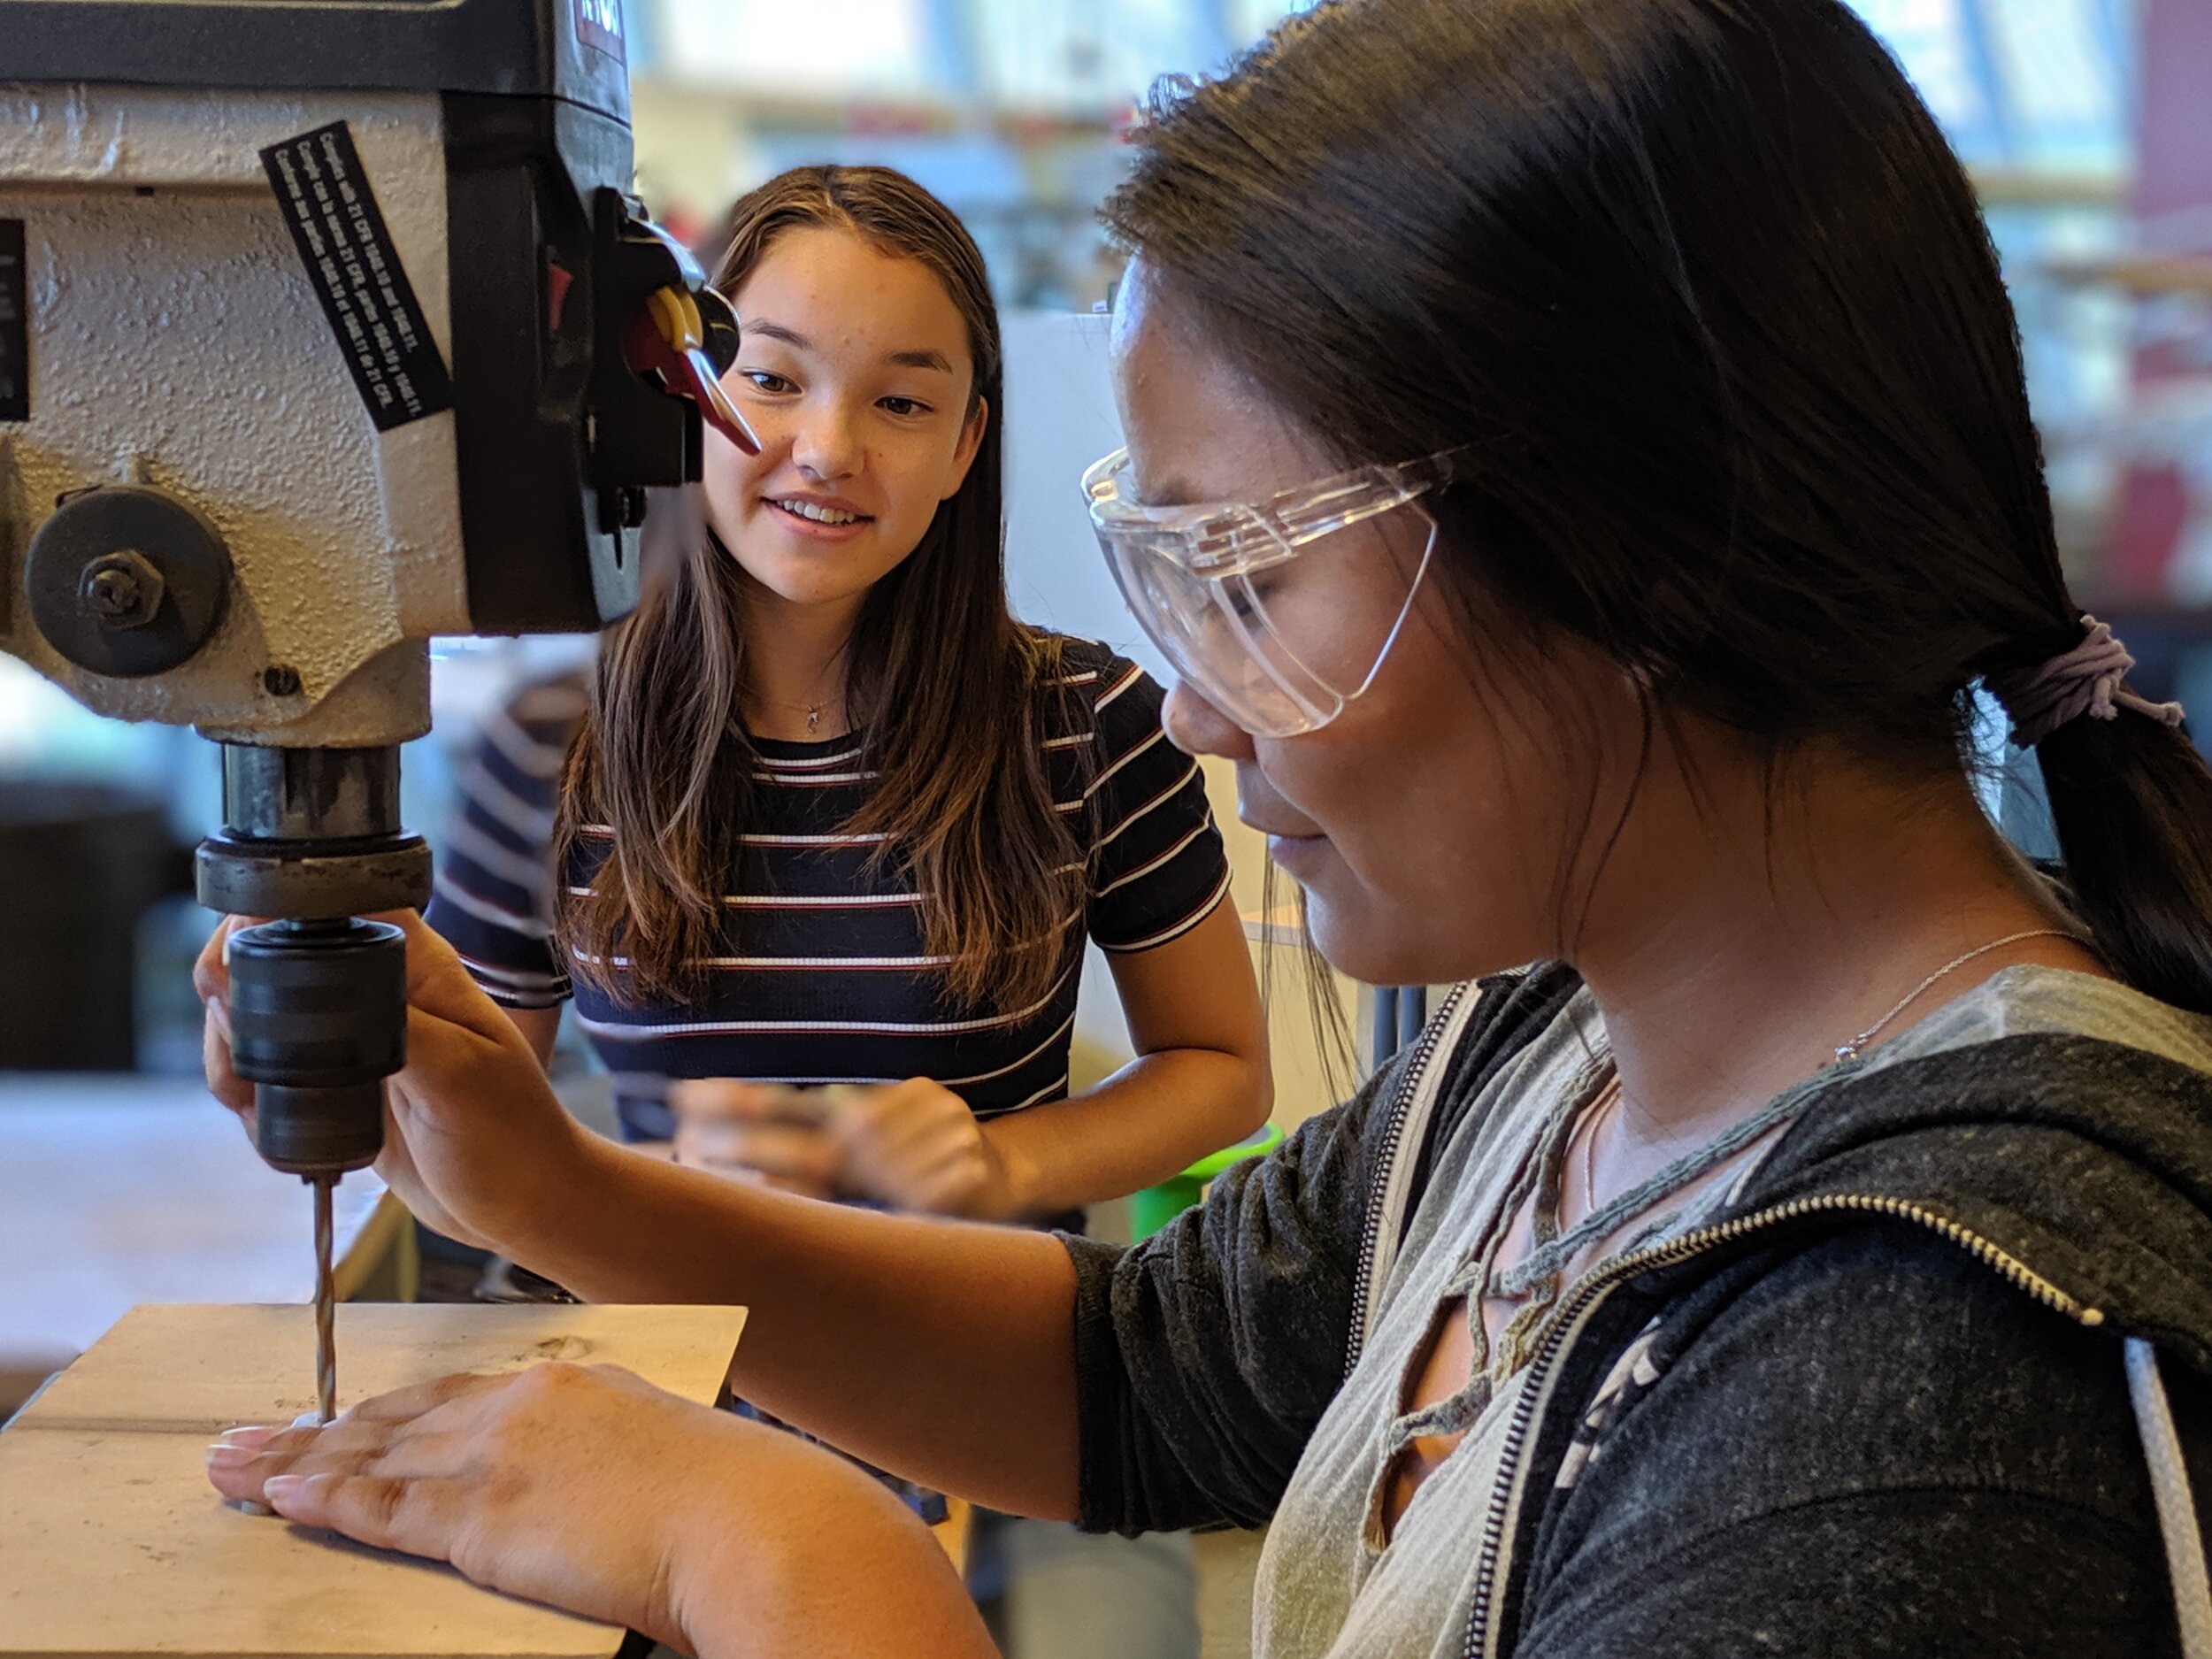
Drilling the 3/16" holes to accept the AN3 bolts that will connect the eye bolt.

More drilling.

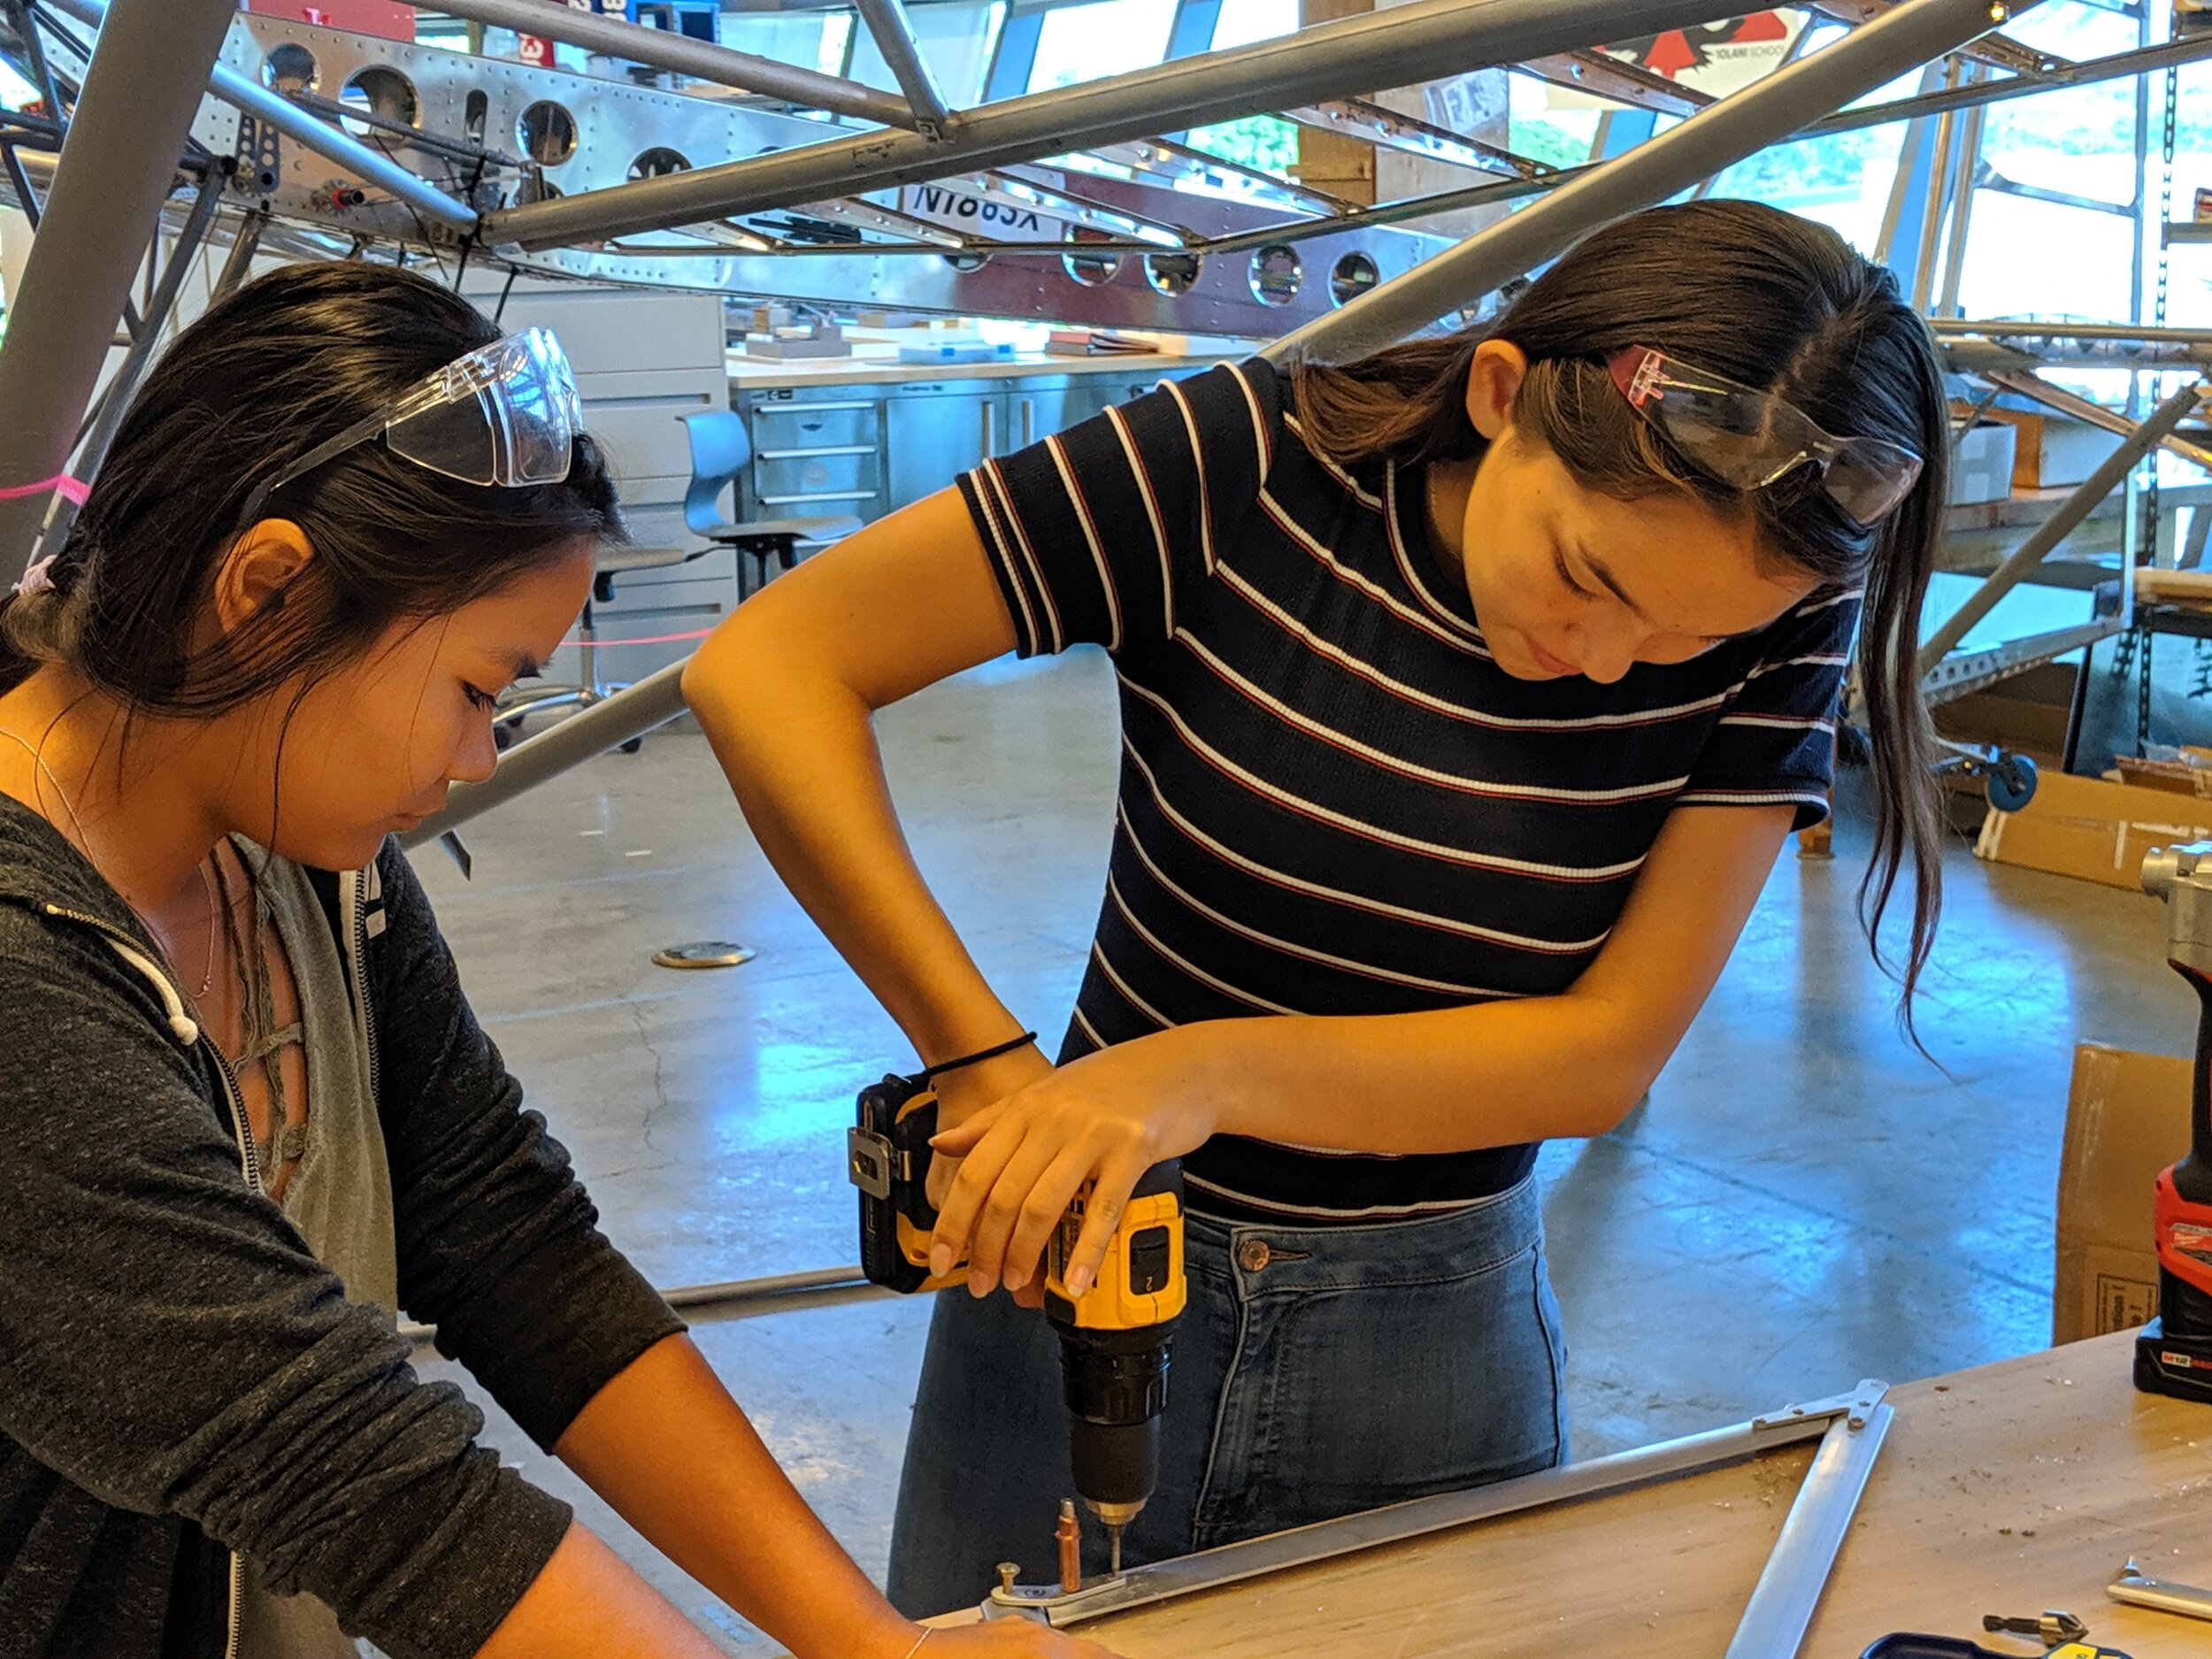
The assembly is held and clamped in place while the connector rivet holes are drilled.

Cleco's are used to temporarily hold the parts together.

Cordless riveting tool makes quick work in sinking CCP4-3 stainless steel rivets.

More riveting.

Drilling main spar for eye bolt attach point.

Attaching the jury strut assembly to the main spar and the trailing spar.

Close up of the jury strut attached to the trailing spar.

Once the jury strut is attached to the wing we position where it will interface with the main struts and then mark and drill for the eye bolt.

Cold bending the lower eye bolt.

Here's where the main wing strut interfaces with the jury strut assembly.

Left wing jury strut complete.

A job well done. Can't wait to do the right side.
