Rudder Control
In this installment of the blog we work on fabricating and assembling all of the parts required for a working rudder. We start with machining the rudder pedal bushings and finish with connecting the rudder cable. See the pictures below for all of the steps in between.

Machining the rudder pedal bushings from 2024 aluminum round stock.

Drilling out the center to a size large enough to accept the cutting tool. Then we begin to enlarge the inner diameter to the correct dimension.

The bushing meets tolerance and is ready to be cutoff.

The 4 required bushings have been completed and are then test fit on the 4130 steel tube.

We created a CAD model of the EMG-6 designed rudder pedal with the bushings to ensure that everything would fit together.

We then 3D printed the rudder pedals and installed them on the fuselage frame to test their function.

Following the functional test of the originally designed rudder pedals we decided to make some modifications and designed a custom E-Hawk pedal that would later be fabricated from aluminum.

Engineering drawing for our custom pedal with bending parameters.

The flat panel of the rudder pedal cut on the waterjet from 1/8" 6061 aluminum. The part then gets annealed and sent to the hydraulic press for bending.
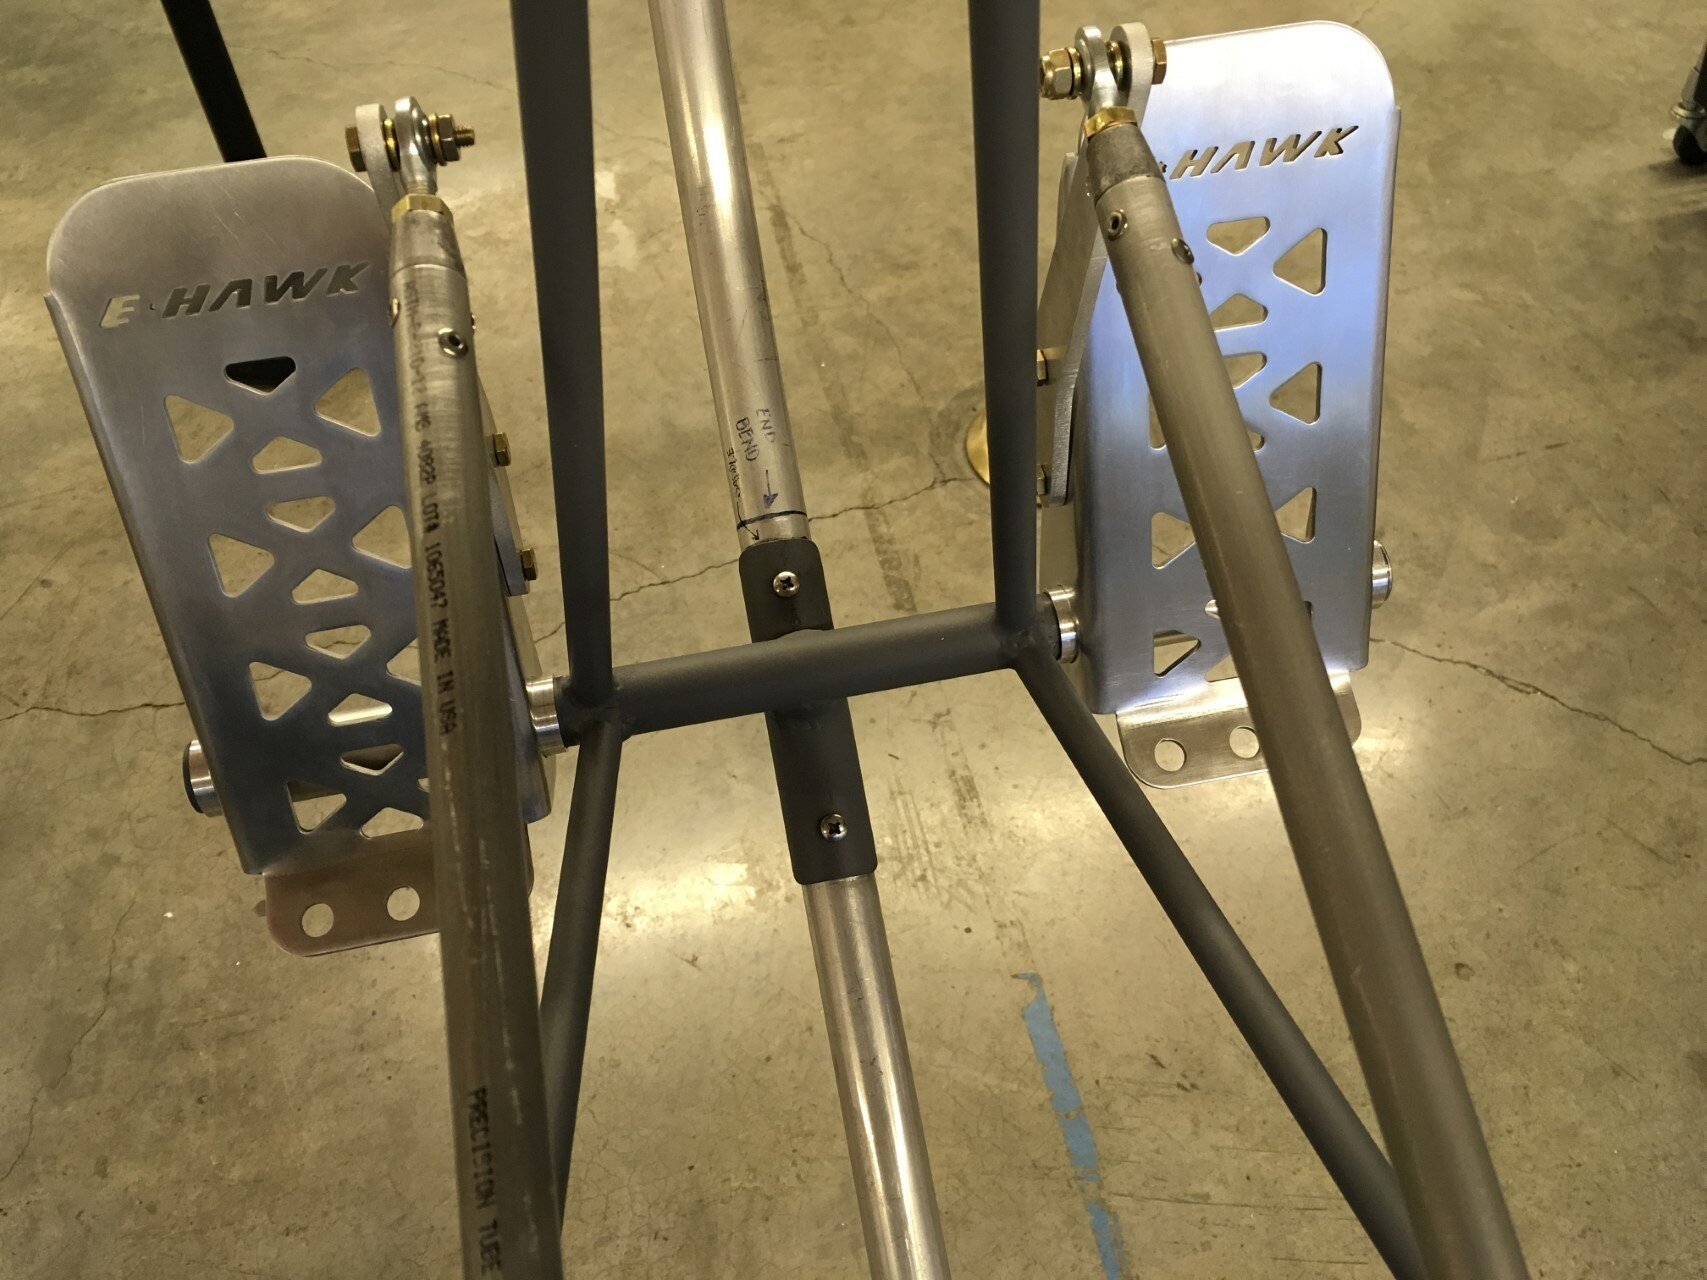
After bending is complete we polish the rudder pedals with fine grit sand paper and install onto aircraft.

Rudder cables are prepared by terminating the end with stainless steel cable thimbles and tin plated sleeves.
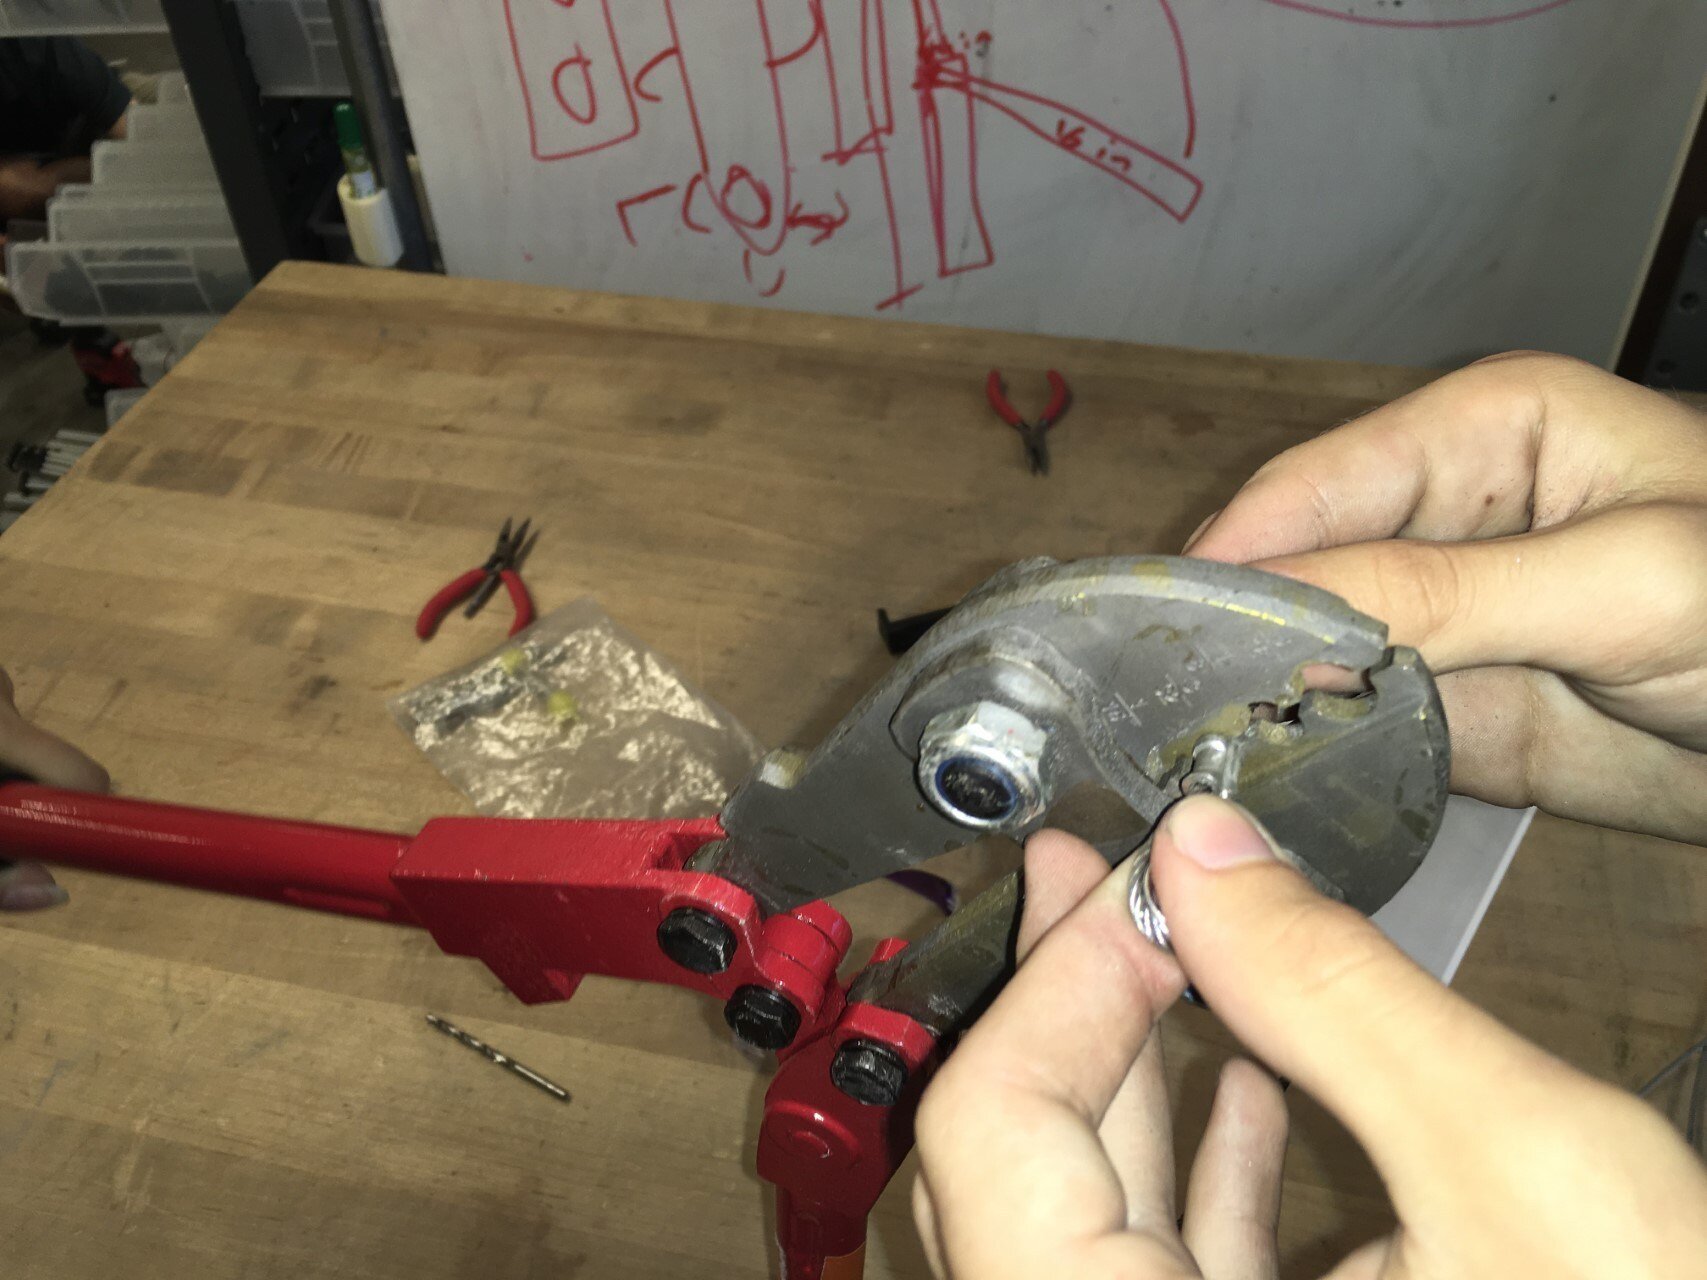
Once all the parts are aligned we swage the sleeve onto the cable.
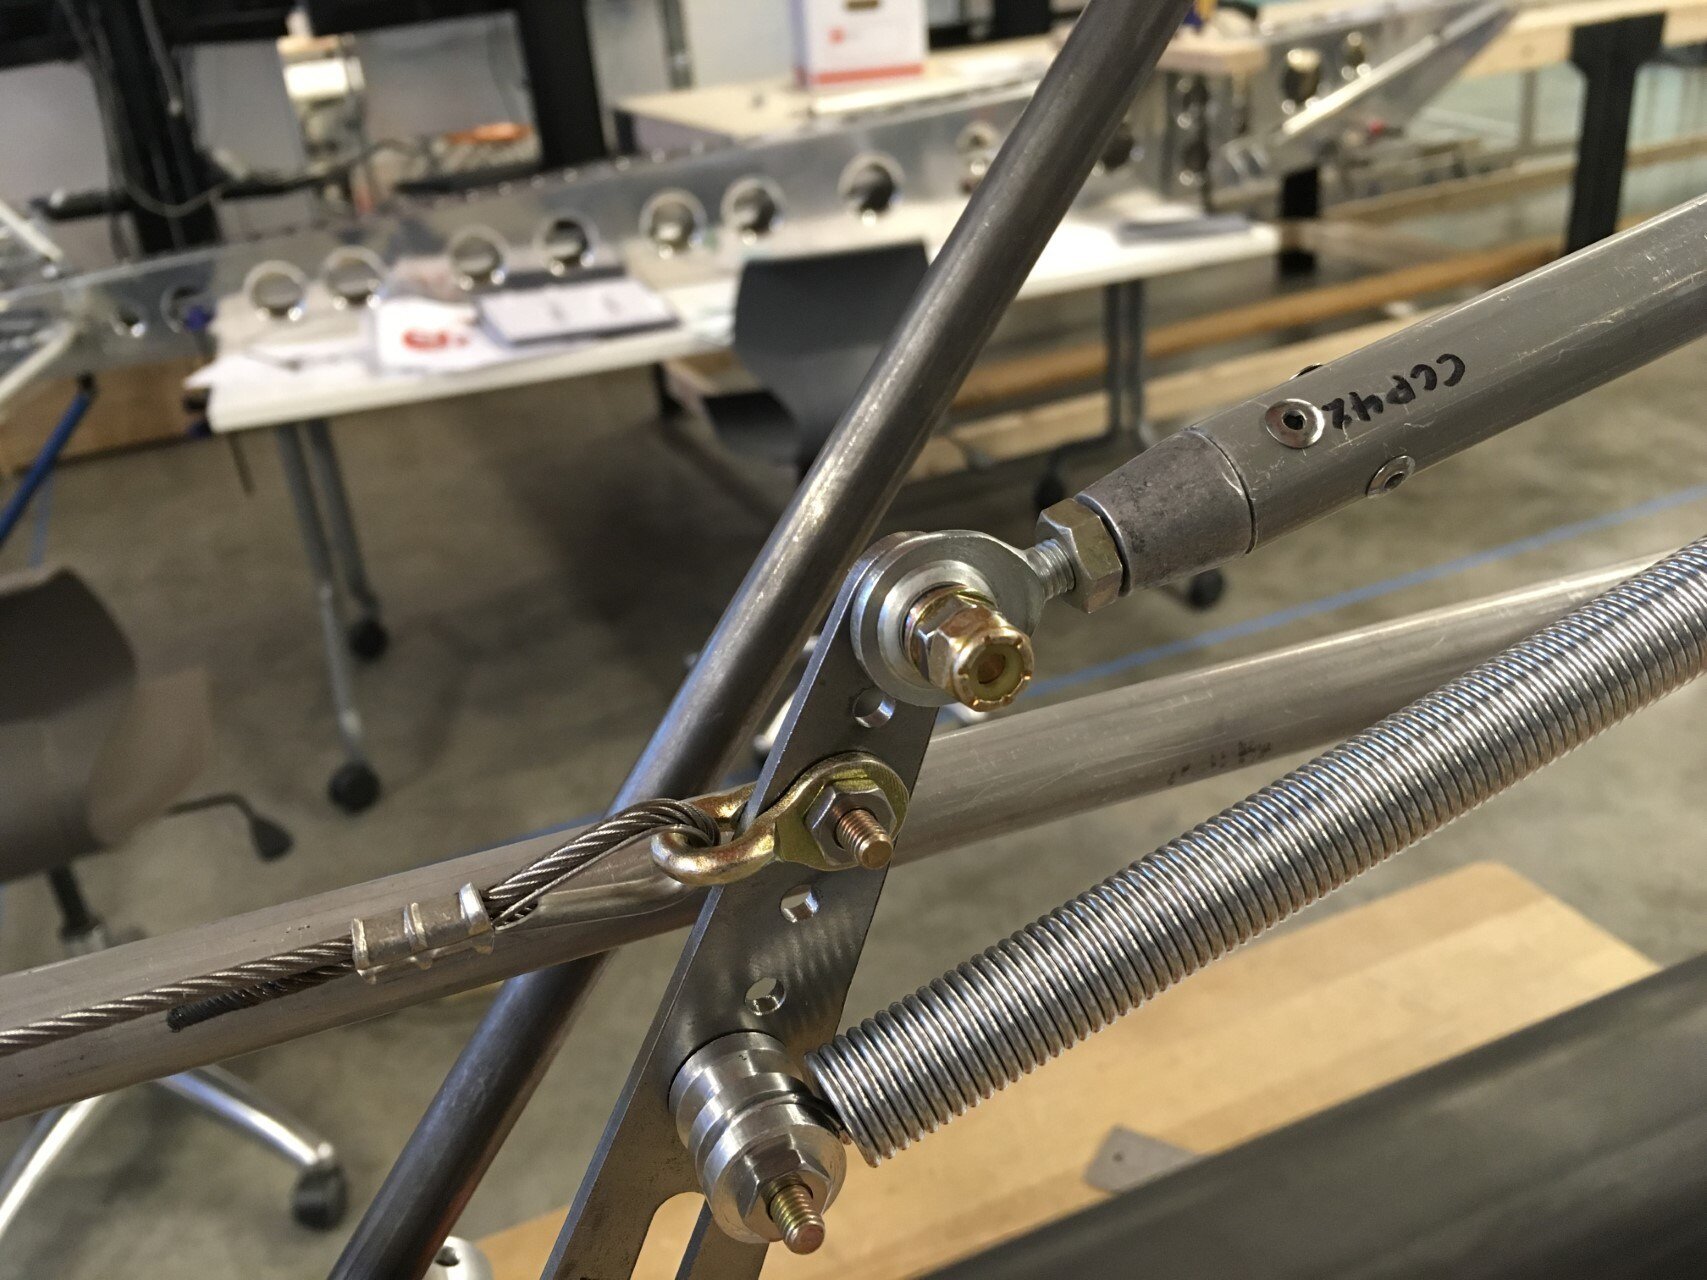
The completed end of the cable is then attached to the forward rudder control horn via a shackle. A second sleeve will be swaged onto the cable for redundancy.
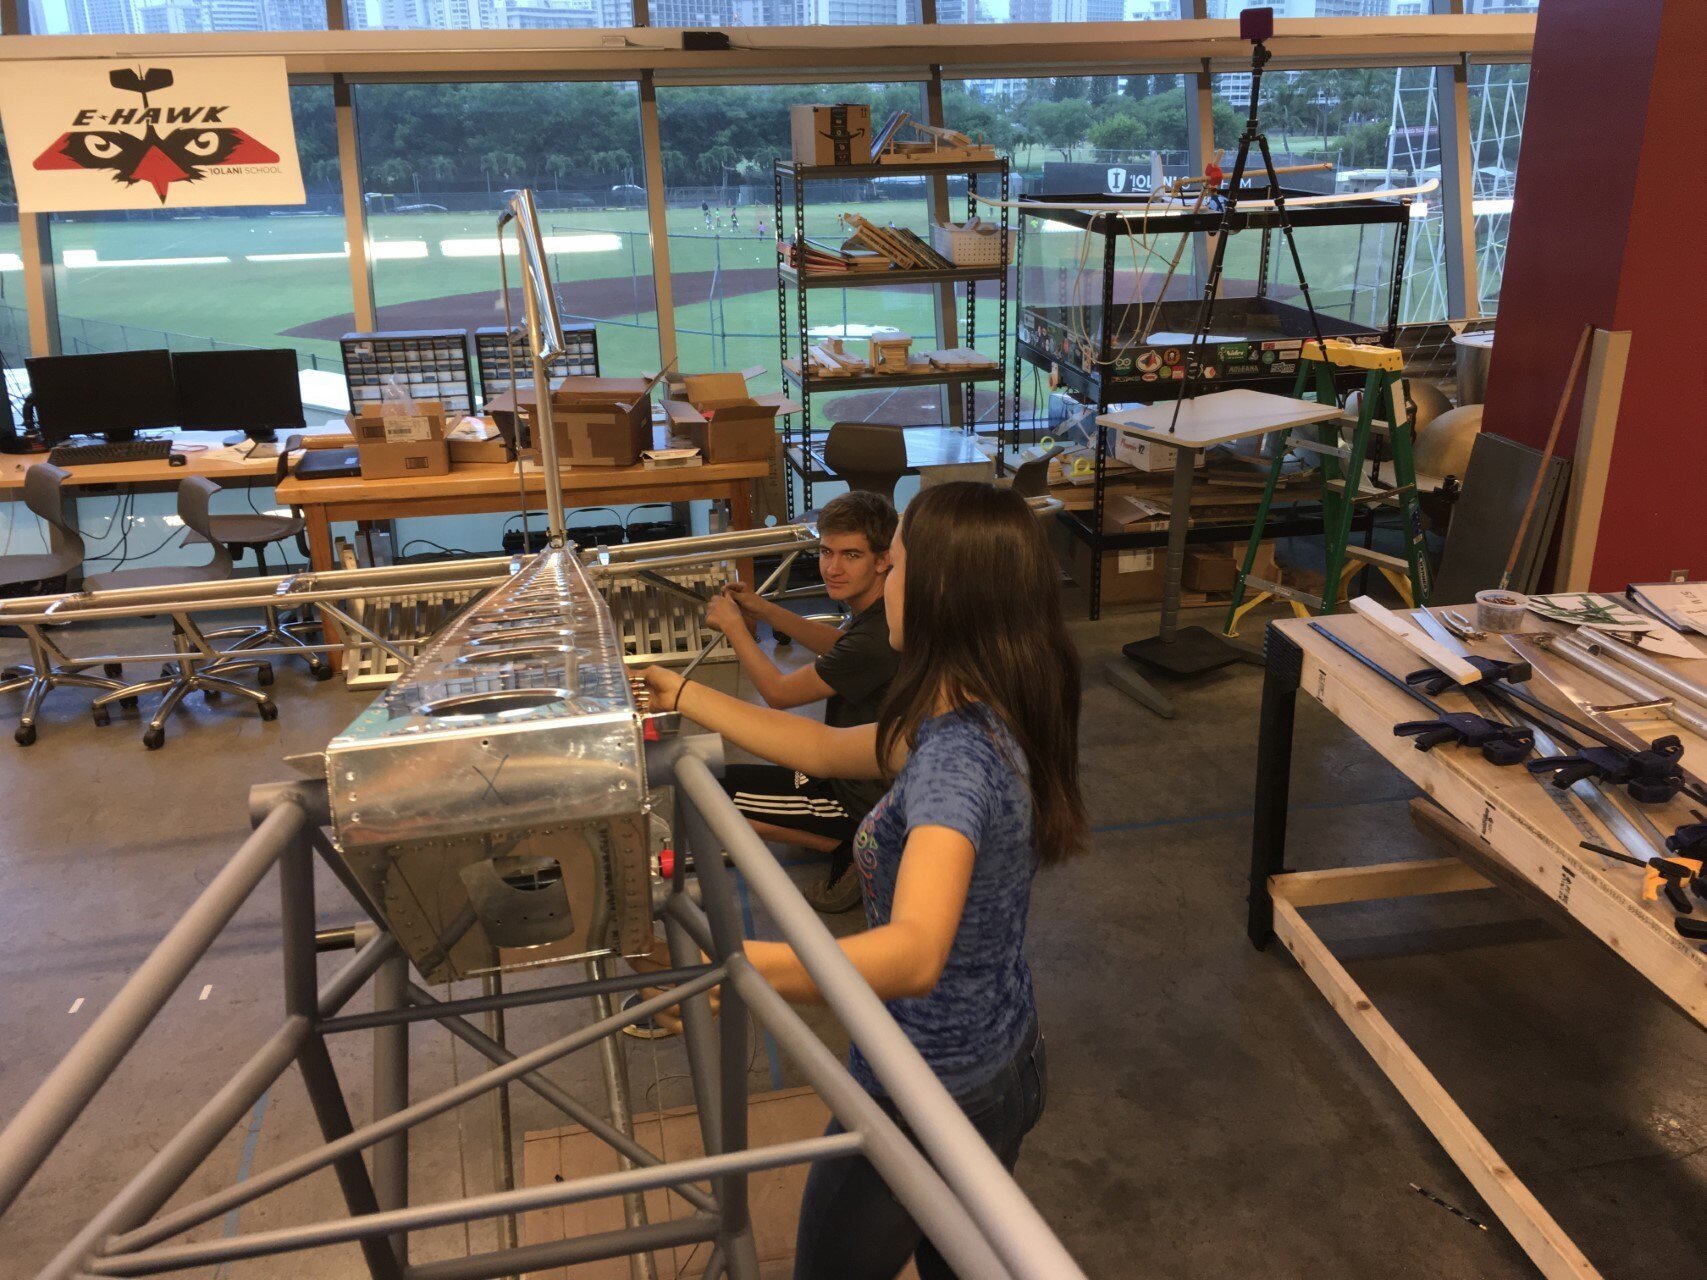
Time to route the cable from the control horn around the lower fuselage frame pulley, up through the tailboom pulley, and then down the length of the boom to the aft rudder control horn.
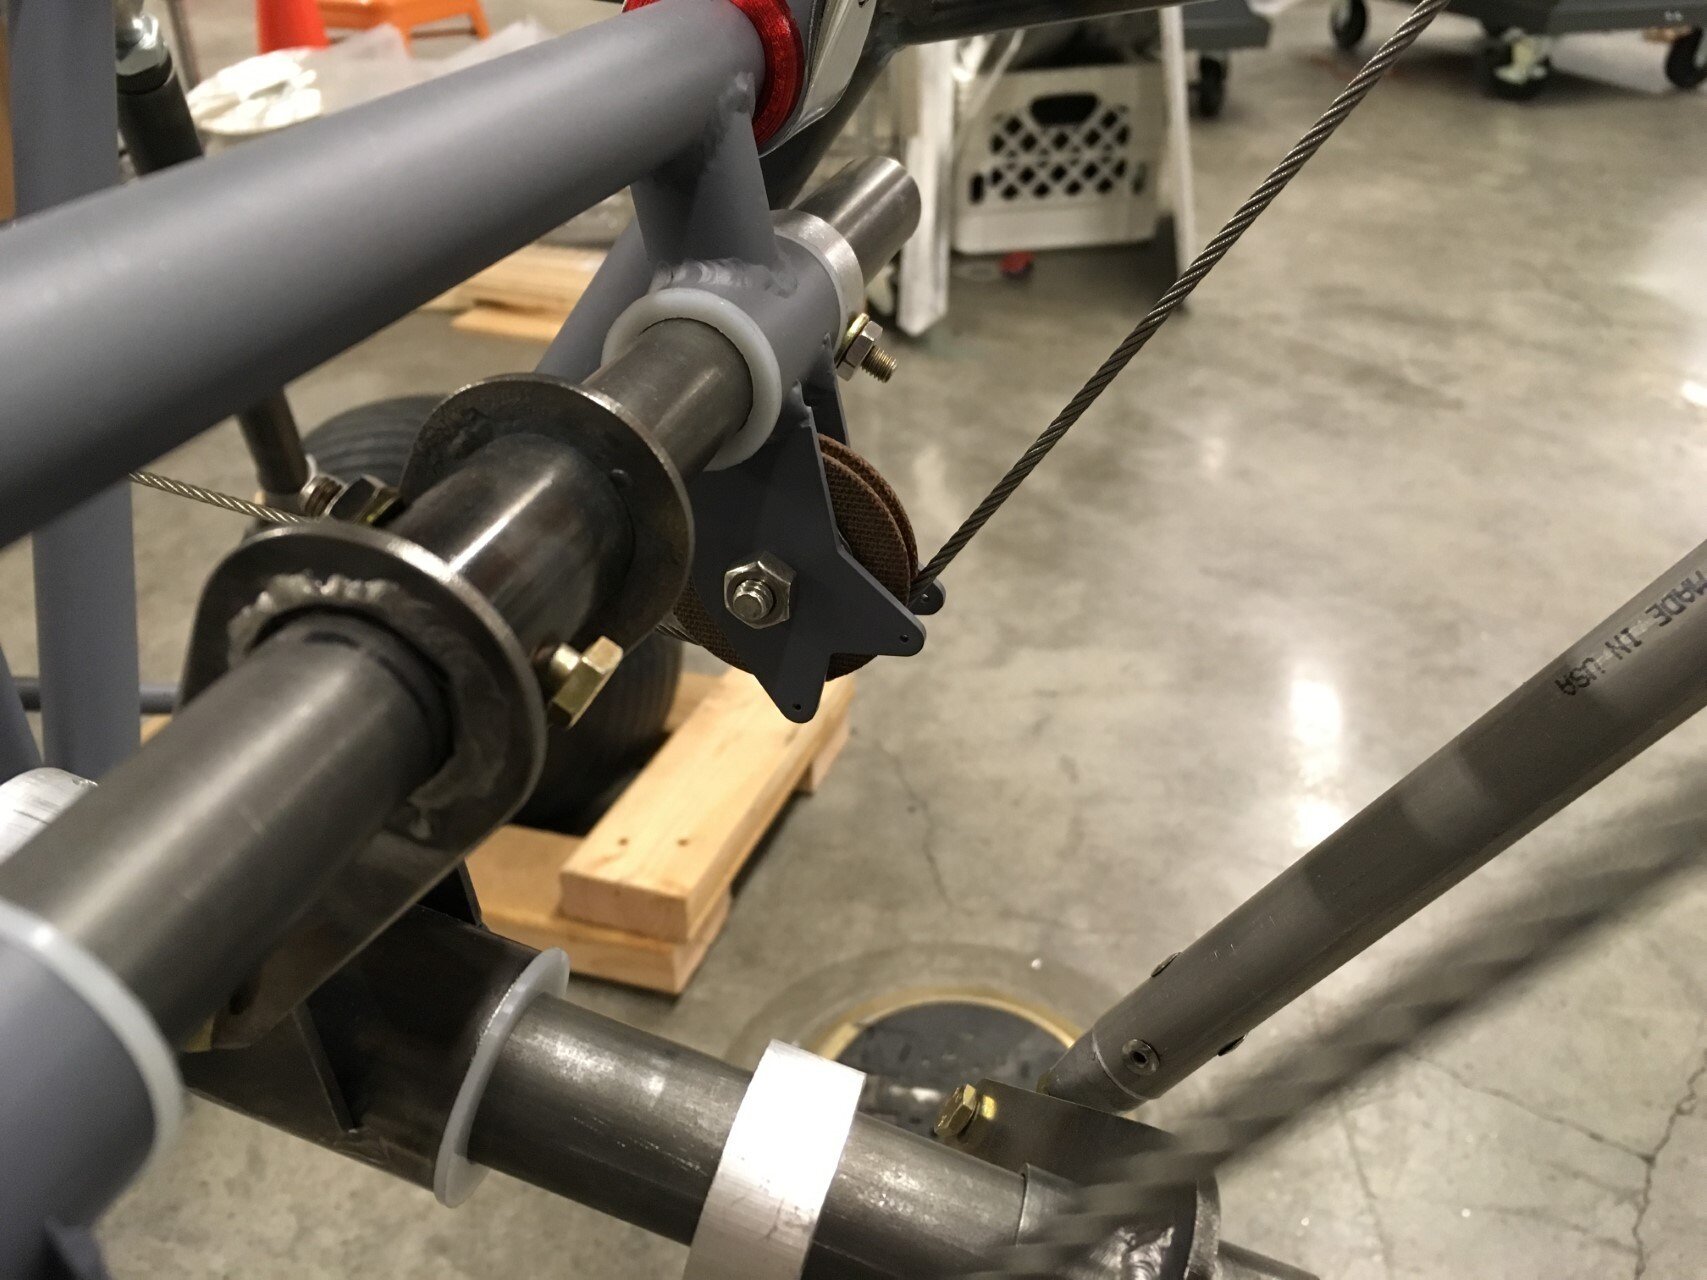
Rudder control cable routed along the lower pulley.

Rudder cable running along the upper pulley.
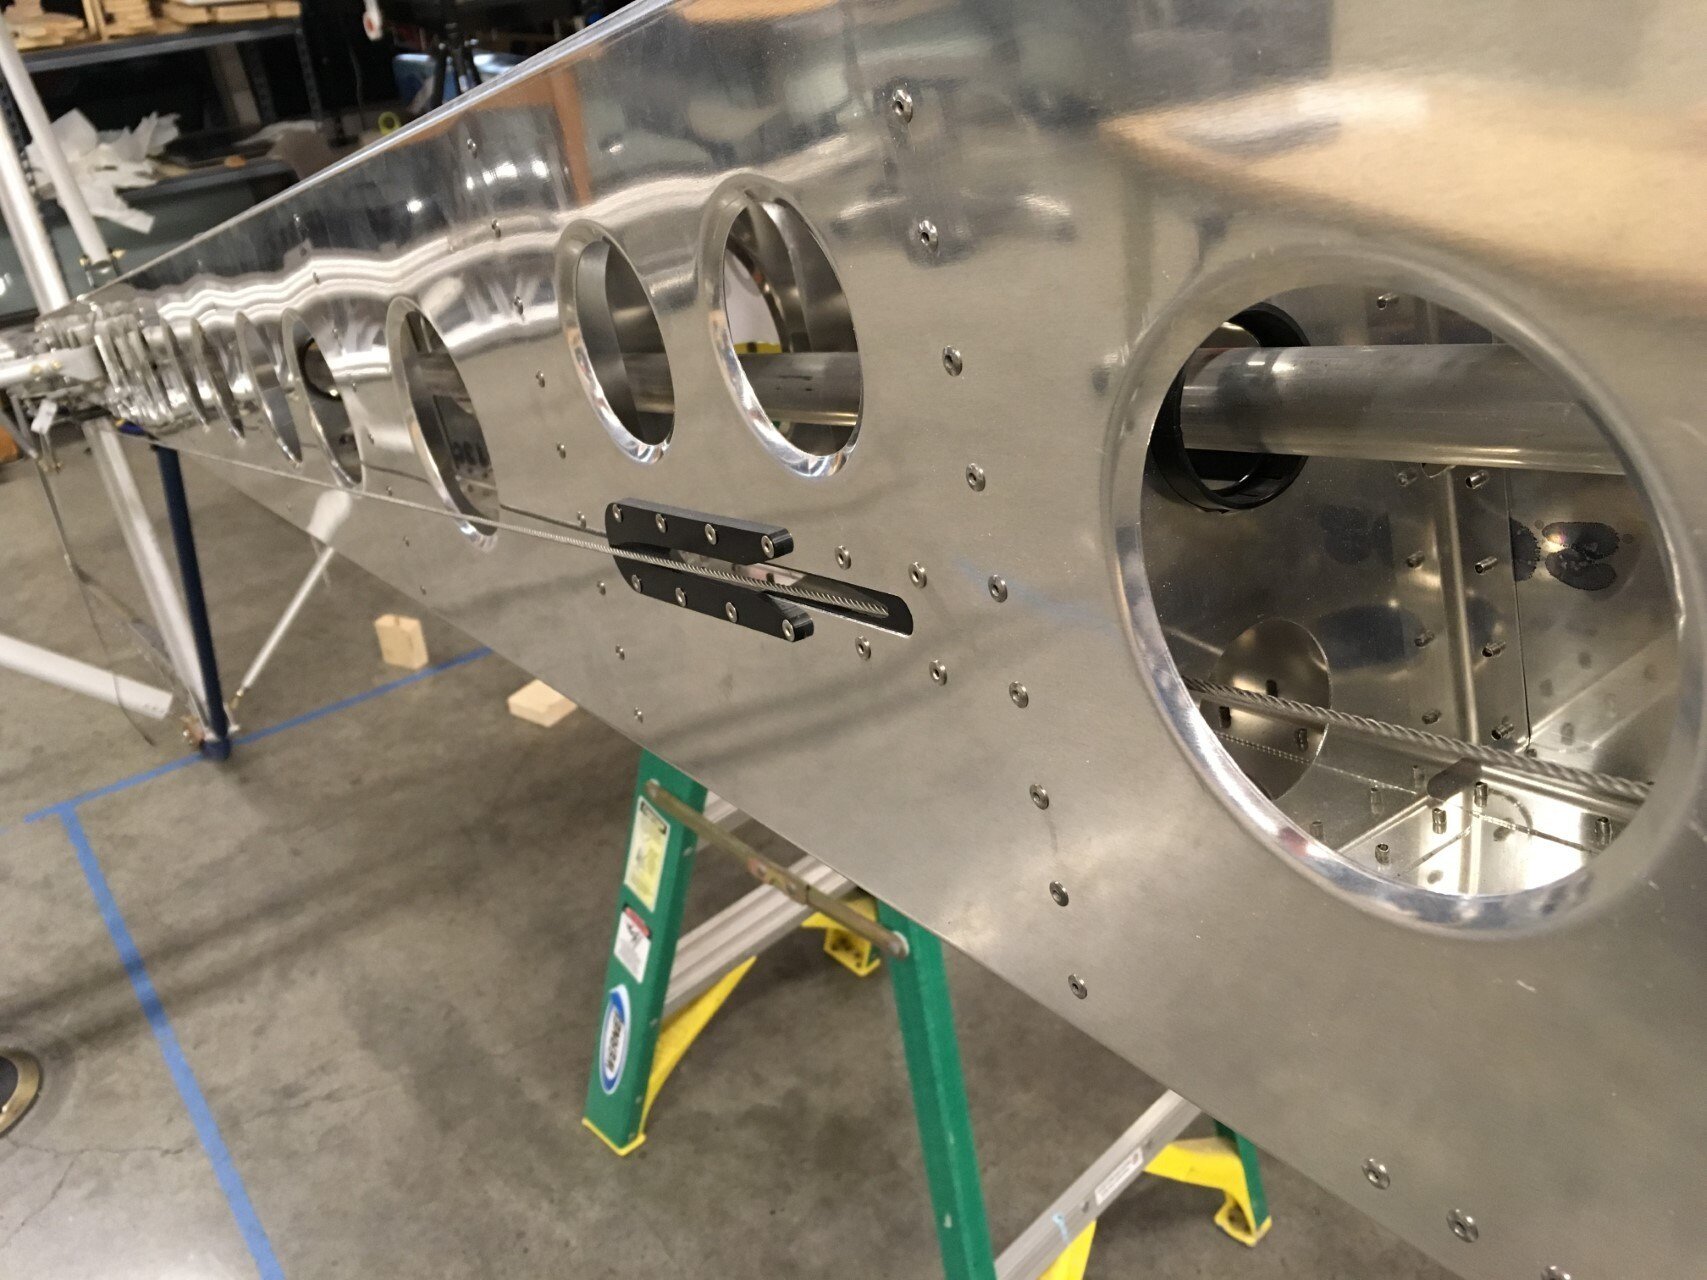
Rudder cable exiting the tail boom and making its way to the rudder.
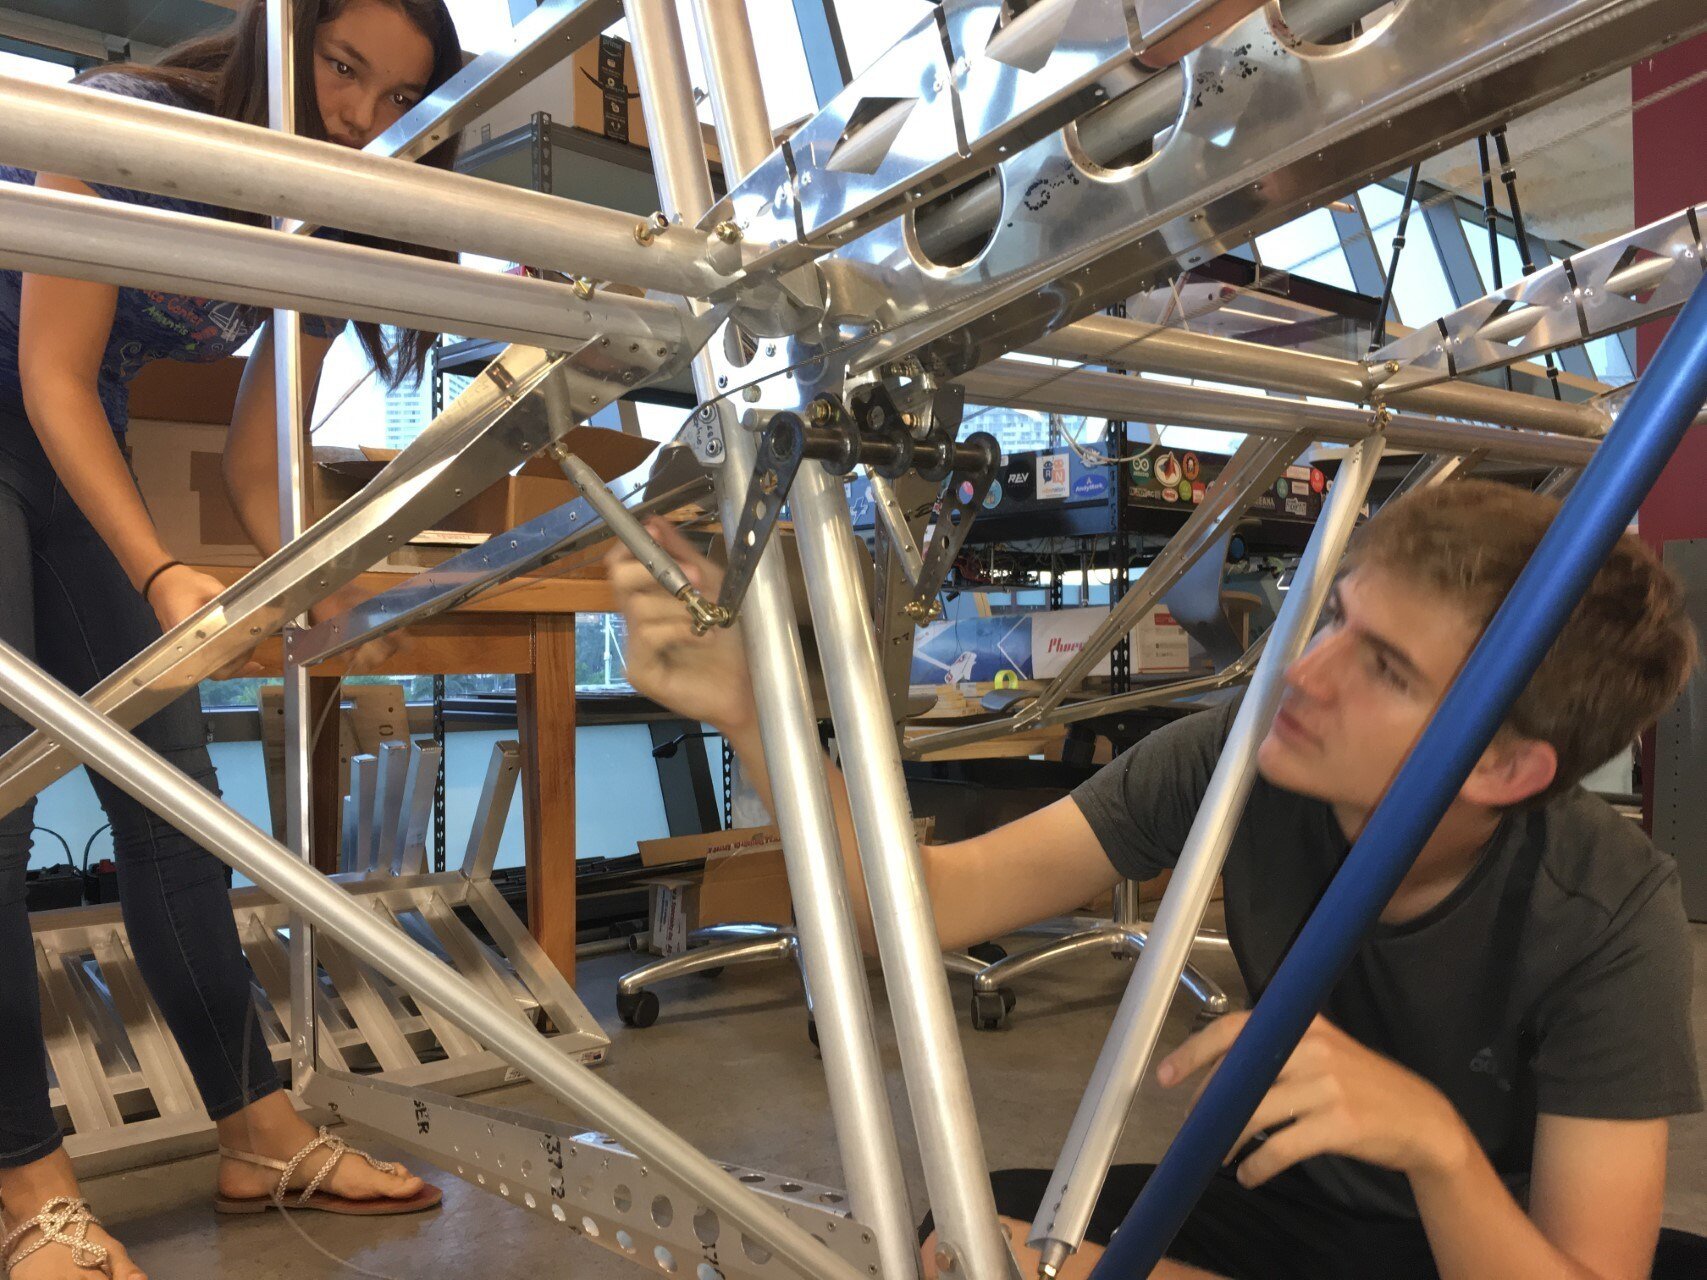
Attaching the rudder control cable to the rudder control horn.
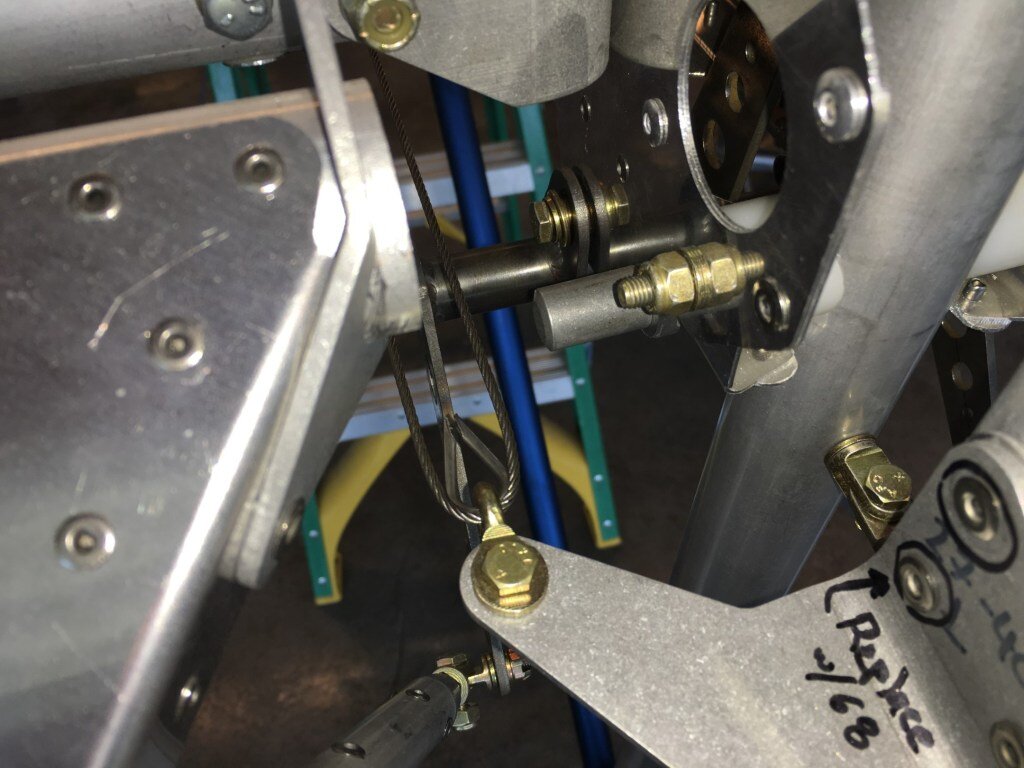
The control cable is temporarily secured to the rudder control horn. We will wait to permanently terminate via a swage.
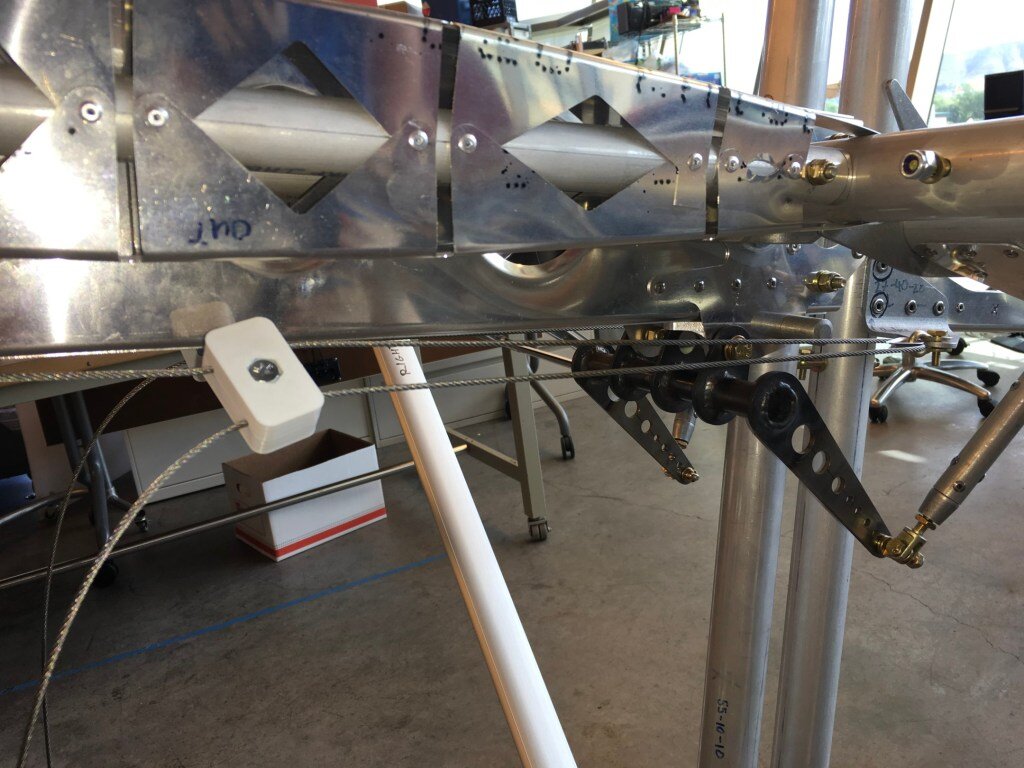
For now we hold the cable in place using a 3D printed clamp that we can tighten with a wing nut.
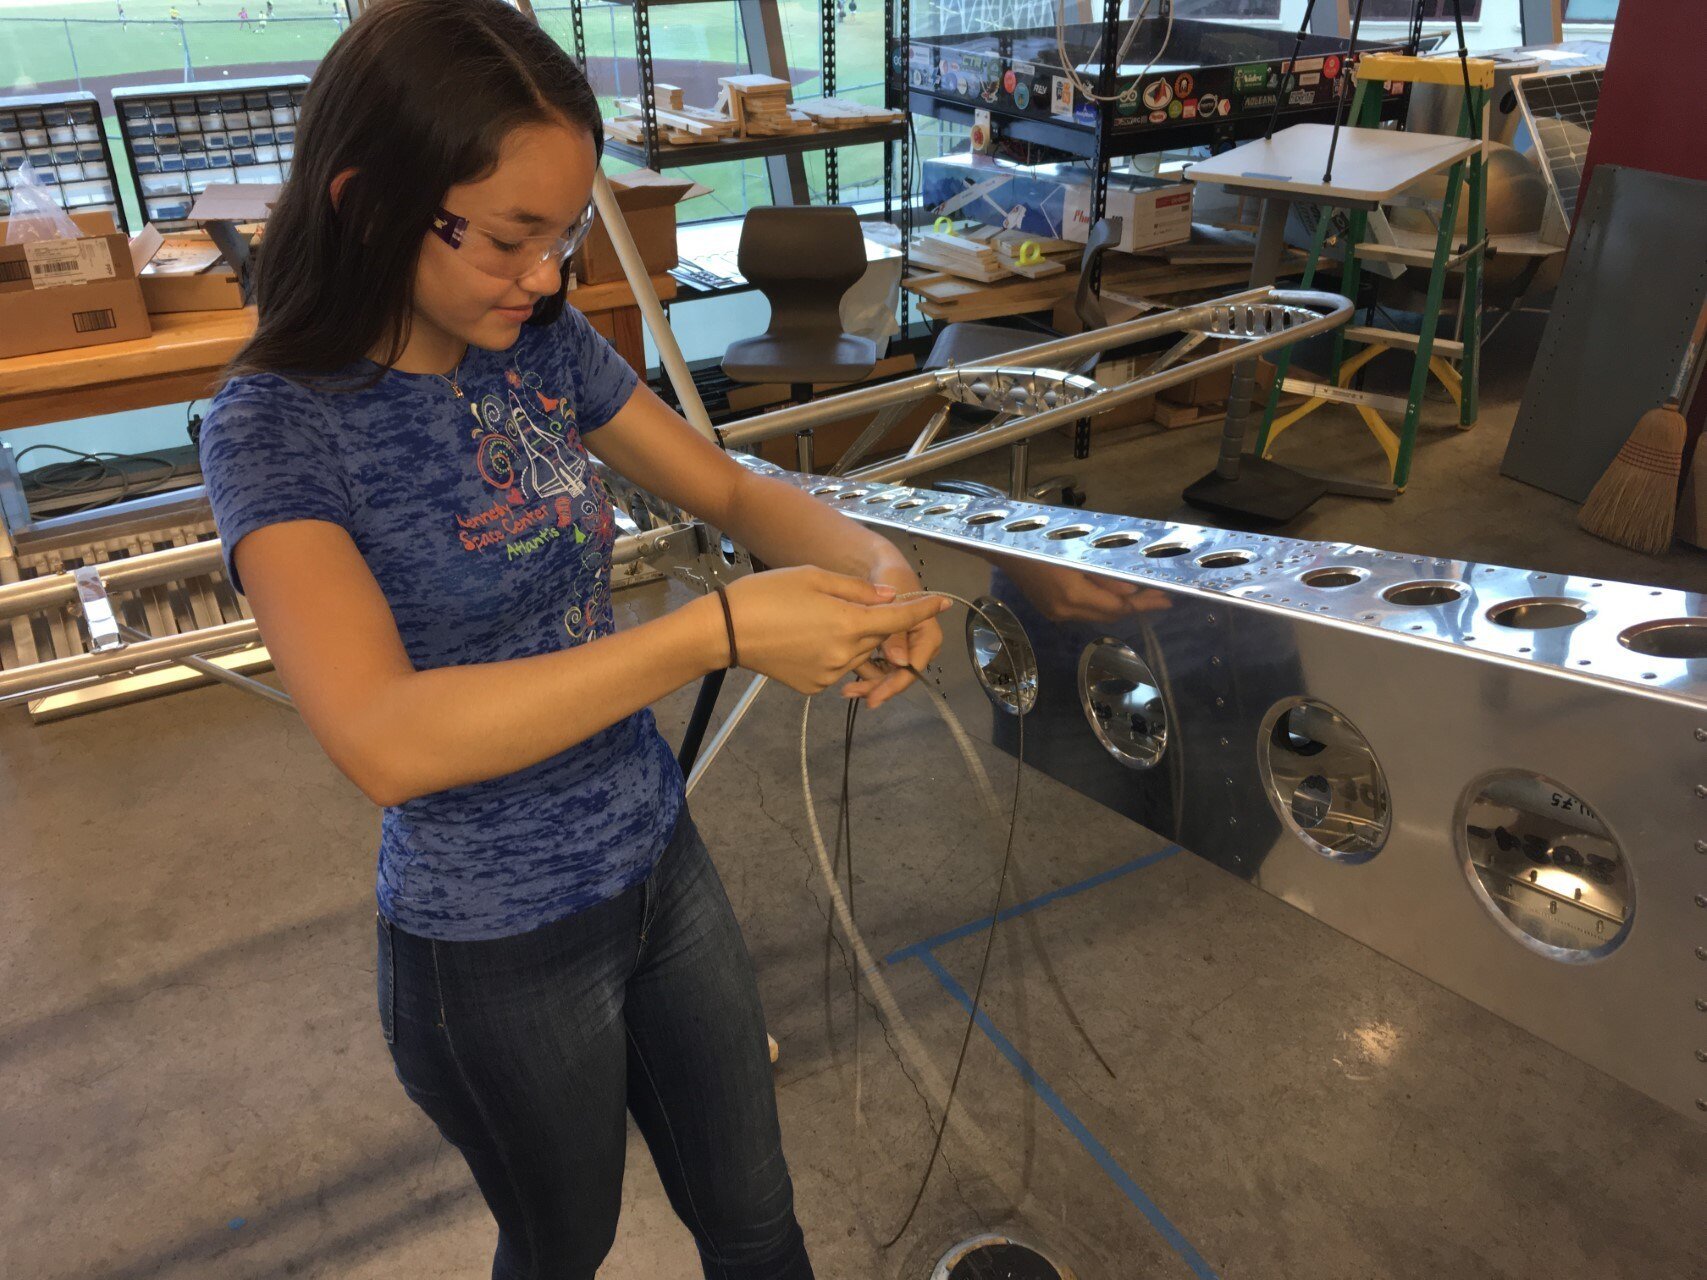
Coiling up the excess of cable from the right side. Next we duplicate our efforts on the left.
